
Room-darkening library
Measure, fit & fix
Measure the opening, choose the right fitting position and solve the light paths that remain after installation.
Browse the guides ↓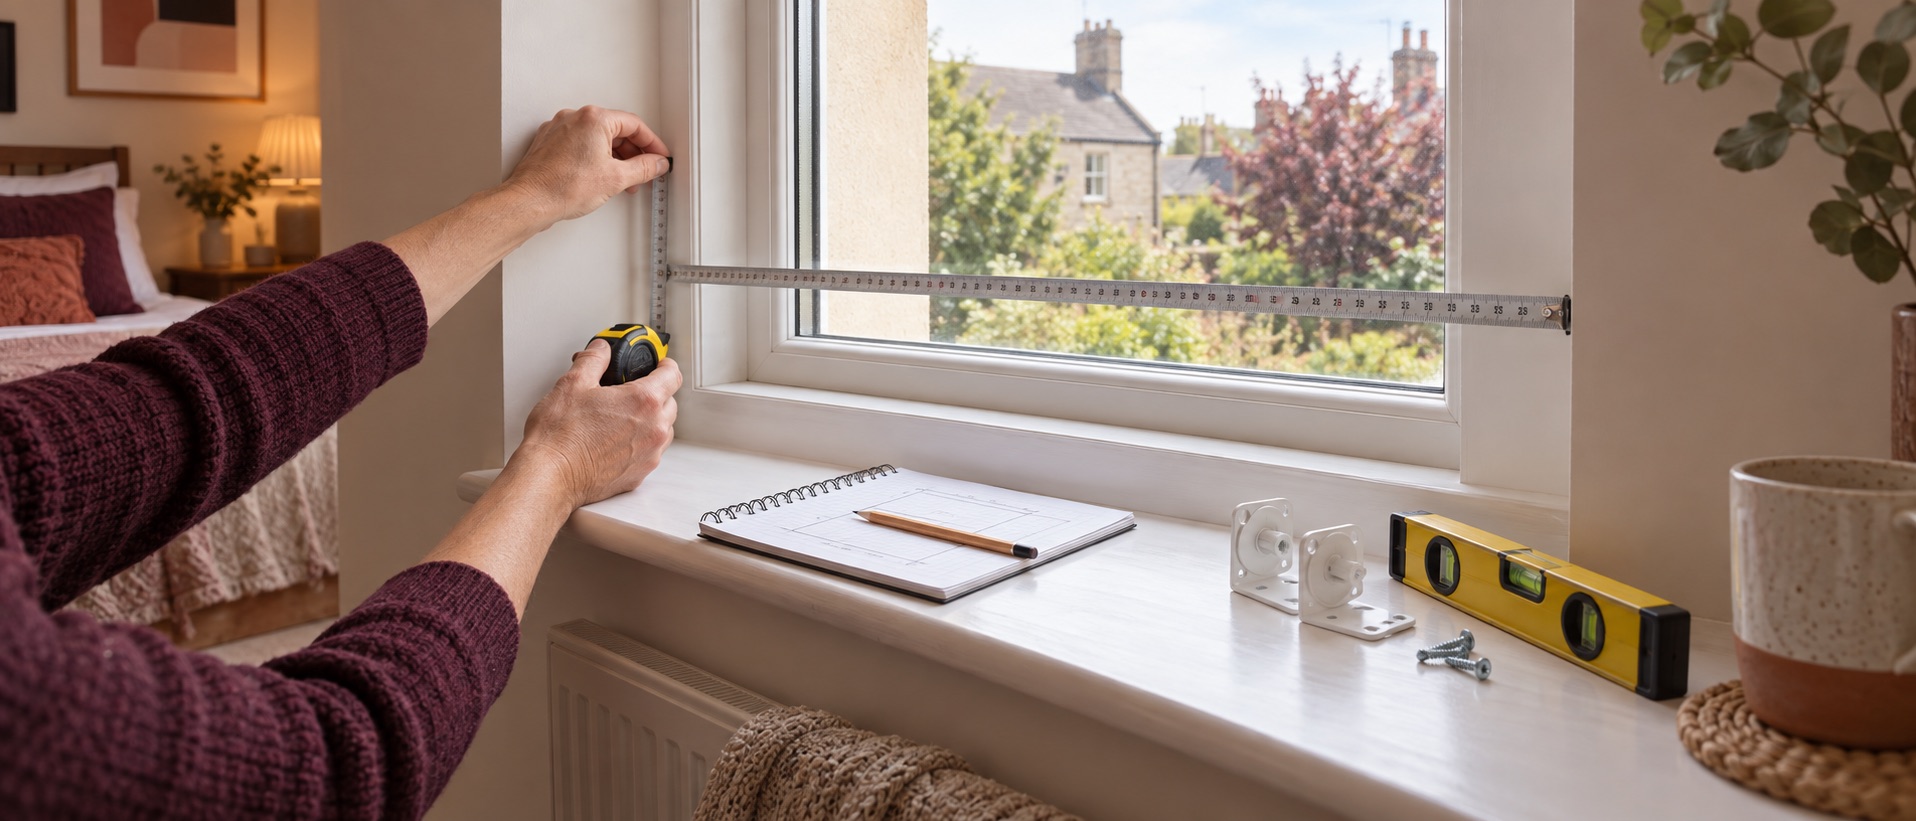
The practical starting point
Measure the complete system, not just the glass.
Measure for the specific product and fitting method. A recess blind, a face-fit blind and a framed blackout system may all ask for different order dimensions or make different deductions. Never apply a “standard” deduction and then let the supplier deduct again. If you have not chosen a system yet, start with how to measure for blackout blinds, then use the more specific guide below.
A dependable measuring routine
Use a rigid metal tape and record all dimensions in millimetres. For a recess-fit roller, measure width and drop at several points and note the narrowest clear opening. Many made-to-measure suppliers ask for the smallest figures and make their own allowance, but follow the selected supplier's instructions exactly. For an outside-recess blind, determine the intended wall overlap and check the complete mechanism width as well as the fabric width. For a cassette system, measure the route available to the headbox and each side channel rather than submitting a glass width.
Check recess depth, projecting handles, tiles, trickle vents and the path of opening windows. Confirm whether brackets can be fixed safely to the lintel, side walls or frame. If drilling is required, identify the substrate and hidden-service risk before choosing fixings. A no-drill blind has its own compatibility checks; avoiding a drill does not remove the need to verify clip, bead or adhesive suitability. Keep the maker's fitting instructions beside your measurements.
Why blackout blinds still glow at the edges
On an ordinary roller blind, the fabric is commonly narrower than the total mechanism. A recess fit can therefore show light at both sides. An outside-recess fit with overlap can cover more wall area, while a cassette with side tracks controls a different route. Use the light-leak diagnosis before changing fabric or adding hardware: a more opaque cloth cannot remove a gap beside it.
At the top, light may pass around the roller or headrail. At the bottom, an uneven sill or a blind that stops short can leave a bright line. Layered curtains, a pelmet, deeper overlap or a purpose-made frame may be more durable than improvised tape that can damage the wall or blind. Recheck window opening and ventilation after any alteration.
Care and maintenance
Start with the manufacturer's instructions and the actual fabric care label. The roller-blind cleaning guide explains a cautious dust-and-spot-clean routine; do not roll damp fabric onto the tube or machine-wash a coated covering unless its label permits it. Persistent window moisture needs a separate condensation check, not a stronger cleaner. During maintenance, inspect a looped chain's safety device and keep furniture away from accessible cords as advised by the Office for Product Safety and Standards.
Next steps
Guides that move the decision forward
Start with the decision closest to your window, then explore the more specific fitting and room guides.
Start with measuring and light gaps
How to measure for blackout blinds
Separate recess, face-fit, complete-mechanism and fabric measurements before ordering.
Read the guide → Installation guideHow to fit a blackout roller blind
Mark brackets, choose substrate-appropriate fixings and complete the chain-safety installation.
Read the guide → Step-by-step adviceStop light leaking around blackout blinds
Diagnose side, top and sill glow, then choose overlap, layering or side channels that address the real gap.
Read the guide → Before measuringChoose the blind system first
Recess, face-fit, no-drill and framed products all ask for different measurements.
Read the guide → Practical guidePlan curtain coverage
Add wall overlap, heading height and a suitable return rather than measuring only the glass.
Read the guide → Care guideClean blackout roller blinds safely
Start dry, spot-clean cautiously and avoid damaging an opaque coating or rolling damp fabric.
Read the guide → Buying guideCompare documented blind options
See how current ready-made and made-to-measure systems differ in fit and edge control.
Read the guide →Fit and measure by system
Measure a recess for a roller blind
Record the mechanism line, narrow points, usable depth and obstructions without deducting twice.
Read the guide → Installation guideFit a no-drill blackout blind
Prepare clips or adhesive, protect seals and test the full window before loading the blind.
Read the guide → Measuring guideMeasure an outside-recess blind
Plan side overlap, full mechanism width, top fixing and lower finish.
Read the guide → Curtain fitting guideFit blackout curtains for better coverage
Set the pole or track high and wide, then tune the centre, sides and hem.
Read the guide → Measuring guideMeasure for a cassette blackout blind
Record the complete headbox and rail route before entering an order width.
Read the guide → Care guideWhat to do about mould on blackout blinds
Distinguish a hard-frame patch from affected fabric and address the moisture source.
Read the guide → Curtain measuringMeasure blackout curtains
Record pole span, panel fullness and heading-specific drop.
Read the guide → Light-gap planningPlan curtain overlap
Check top, sides, centre and lower coverage before ordering.
Read the guide → TroubleshootingReduce light above curtains
Identify the bright route before moving hardware or adding a cover.
Read the guide → TroubleshootingReduce light at curtain sides
Diagnose short hardware, narrow panels or an exposed wall-side gap.
Read the guide → Bay measuringMeasure a bay window for blackout coverings
Record each face and corner, then use product-specific blind or track dimensions.
Read the guide →Solve window and room problems
Find a roof-window code for a blind
Read the complete type sign safely and match the exact accessory family.
Read the guide → Layered fittingLayer a blackout blind and curtains
Give the blind the glass and the curtain the perimeter, with room to operate both.
Read the guide → Retrofit guideAdd side channels to an existing blind?
Check fabric, bottom bar, rail and reveal compatibility before retrofitting.
Read the guide → Frame guideFit a blackout blind to uPVC
Compare bead-fit, clip, adhesive and room-side methods around the actual frame.
Read the guide → Vent-aware fittingFit around trickle vents
Keep vent controls and airflow routes clear while measuring the blind mechanism.
Read the guide → Window careBlackout blinds and condensation
Inspect glass and frame moisture without blaming the covering alone.
Read the guide →