
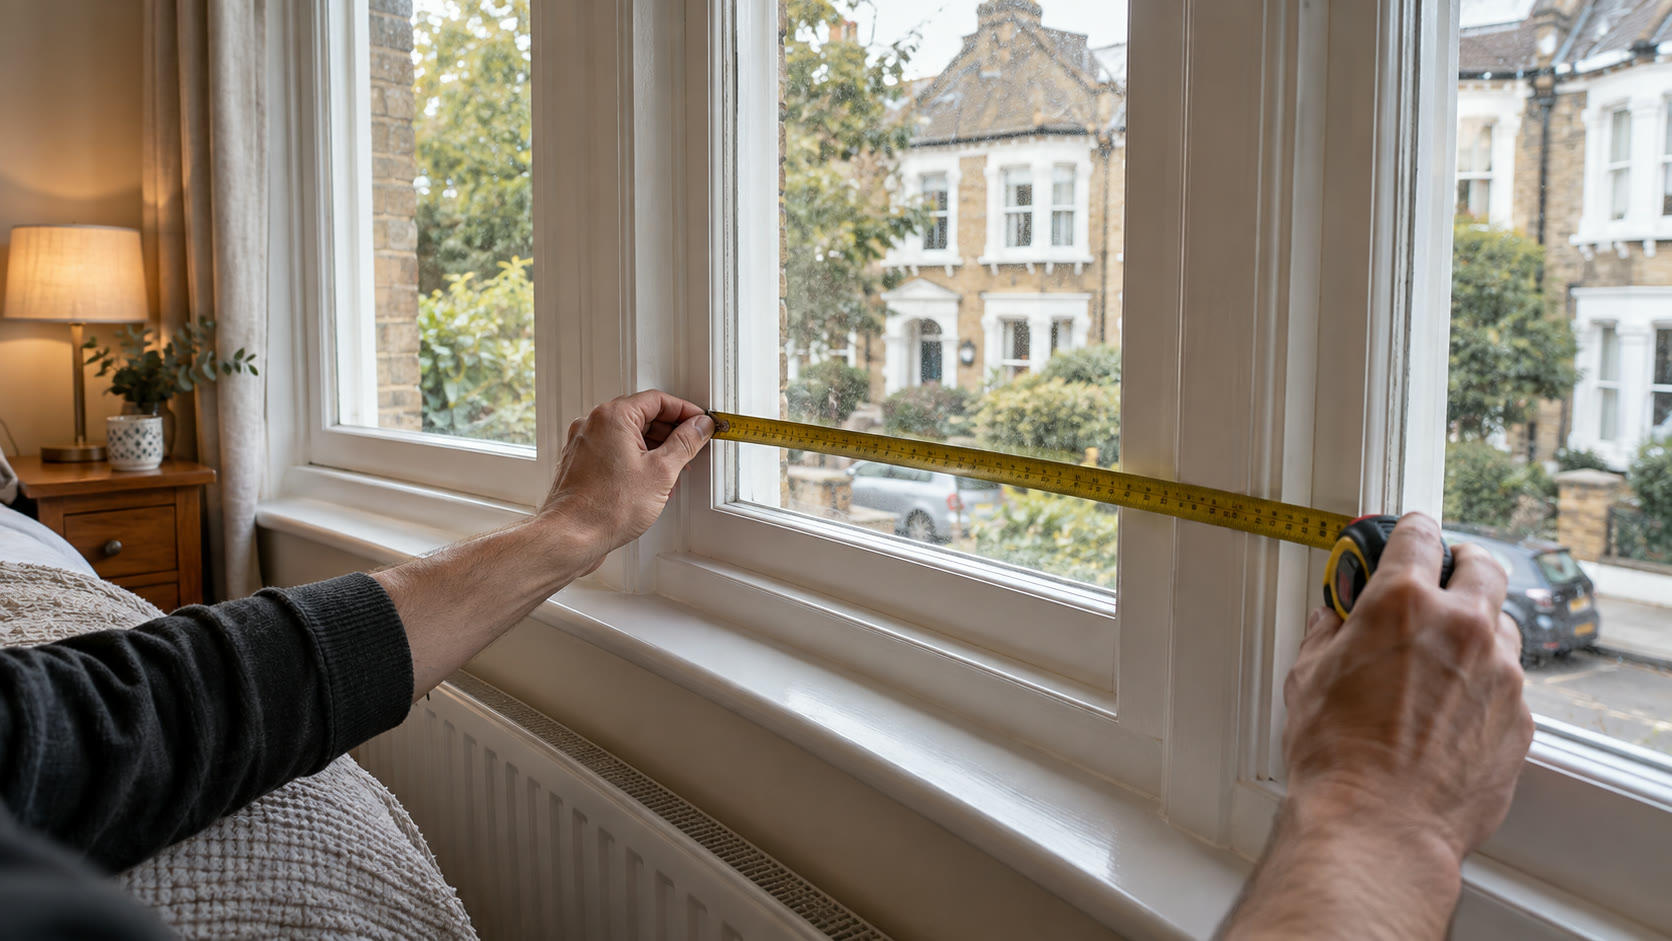
Draw the bay from above and label every face
Use a metal tape measure, pencil and a sheet of paper. From a plan view, draw the bay's centre face and each return. Label them left, centre and right rather than trusting memory. A square bay has right-angle corners; an angled bay has oblique corners; a bow may contain several narrow facets. Count all separate pieces of glass and frame. Mark doors, handles, opening sashes, vents, radiators, shelves and existing hardware. Photograph the whole bay and each corner with a ruler visible for scale.
Record the straight overall span across the room-side opening, the depth from that line to the centre glass, and the width of each face at its intended fixing line. The fixing line might be close to the glass, at the outer frame or on the ceiling; these are not equivalent. Note the reveal depth available for brackets and the projection of any handles. If the bay contains traditional sash windows, check both sashes through their movement. For an opening casement, check the swing. Do not measure only the glass and assume a blind will fit behind a handle.
Take widths at top, middle and bottom where the selected product's instructions require a recess fit. Old bays can taper; the smallest width may govern, but do not make an unapproved deduction yourself. Record left and right return depths independently. The bay may look symmetrical while one side is longer or a corner is sharper. If you cannot safely reach the top, use a competent measurer rather than standing on a sill or leaning across glazing.
Measure each blind and its collision zone
For separate blinds, each face needs its own width and drop. The blind's headrail or roller unit may be wider than its visible cloth. Two neighbouring mechanisms can collide at a corner even when each piece of fabric appears correctly sized. Blinds2go's angled-bay guide illustrates how the product's depth informs corner marks and final face measurements. That PDF is for a particular 25 mm aluminium blind. It is not a universal formula for a roller, cellular or Roman blind.
Ask the selected supplier for its own bay instructions and give them your labelled sketch. Confirm whether they expect raw recess measurements or finished blind sizes, and whether they make a manufacturing deduction. Mark the planned control side for each blind; a chain or handle at the inner corner may be awkward or unsafe. The FURNISHED standard roller below illustrates why complete mechanism dimensions matter, but it does not provide a bay corner template. Three faces also mean checking quantity and colour consistency across three selected variants.
At the corners, make a simple depth template from card equal to the proposed headrail projection. Hold it on adjacent faces and see where they meet. This is a visual check, not a substitute for the maker's measurements. If the two rail zones overlap, a different mounting depth, narrower mechanism or room-side curtain may be needed. Do not assume a smaller fabric cut will solve a bracket collision. Our bay blind guide explains the system choices and expected corner light.
| Record | For separate blinds | For shaped curtains |
|---|---|---|
| Each face width | Essential for individual units | Useful for track sketch |
| Corner angle and depth | Essential for headrail clearance | Essential for bends and brackets |
| Full path around bay | Not an order width for one blind | Essential for usable track length |
| Room-side overall span | Useful comparison | Needed if using a straight track |
Measure the track route, then the fabric
For curtains following the bay, measure along the proposed pole or track line, face by face, including every bend and any returns at the wall. Add the segments to obtain a provisional path length. Do not measure diagonally across the empty bay. For a straight room-side track, measure the proposed width across the bay opening plus space for side overlap and stacking. Mark where the stack can sit without obstructing furniture or the opening windows.
Hardware also has physical limits. A bendable track may need a minimum bend radius, specified bracket spacing and a maximum fabric weight. The Speedy example below is a flexible track format, but its seller positions it for light-to-medium curtains; a heavy blackout pair might require a different system. Confirm capacity and heading compatibility with the actual fabric. An eyelet curtain usually needs a pole, not ordinary track gliders. Our bay curtain guide discusses the two layout routes.
Once the usable hardware length is known, calculate total flat panel width according to the chosen heading. Pencil pleat, eyelet and wave curtains gather differently. The flat width on a packet can be per panel or per pair. Our curtain measuring guide and fullness guide cover the calculation. Measure finished drop at left, middle and right because bay floors and sills may not be level. Keep the hem clear of radiators, seats and the walking area.
Turn the measurements into a checkable order
Put every measurement on one dated sheet with units. Include a plan view, mounting line, selected product family, control sides, drop, wall substrate and photographs. Separate raw window dimensions from manufacturer order dimensions. If a seller applies deductions, ask them to show which values they need you to supply. Read their terms for custom-made products before ordering. A supplier should be able to explain how its headrails meet at your actual bay angle; if that cannot be established, postpone the purchase.
Check the proposed system in daylight with paper or card strips. Look from the bed or seating position at the corners, top and side returns. A narrow corner gap can be normal for face-mounted blinds; a curtain layer may cover it, but only with adequate top and side overlap. Keep intended ventilation and window access. In children's rooms, make any blind controls compliant with UK blind-cord safety guidance. This measurement sheet is a planning tool, not permission to drill into uncertain glazing, heritage joinery or hidden services.
Products for this job
Why the selected format changes the numbers
A standard roller and a bendable curtain track illustrate different measurements; neither card is a bay-specific measuring kit. Follow the chosen product's own dimensions and load instructions.
FURNISHED blackout roller blind, black, 60 × 165 cm
Best for: A familiar daily blind in a standard bedroom
A conventional coated roller blind with a broad size range and several fitting positions. It is useful when you want an everyday blind rather than a panel that must be removed each morning.
What stands out
- Many width and drop options are listed
- Can be fixed inside or outside the recess
- A trim-to-width route for awkward standard sizes
Keep in mind
- The fabric is about 4.5 cm narrower than the complete mechanism
- The looped chain and supplied safety device must be fitted correctly
- An ordinary roller does not seal the sides
- 60 × 165 cm
- Coated polycotton
- Bracket mounted
- Chain controlled
Speedy bendable curtain track, white, 5 m
Best for: Planning a close-mounted pencil-pleat track
A cuttable, bendable track supplied with gliders and brackets for pencil-pleat curtains. It can be face- or top-fixed, but its own listing limits use to light- or medium-weight curtains.
What stands out
- Top- or face-fix options are listed
- Can be trimmed or bent for the layout
- Gliders and brackets are included
Keep in mind
- Listed for light- to medium-weight curtains only
- No built-in centre overlap or pelmet is claimed
- Fixings must match the wall or ceiling substrate
- 5 m total track
- White
- 50 gliders and 20 brackets listed
- Light- to medium-weight curtains