
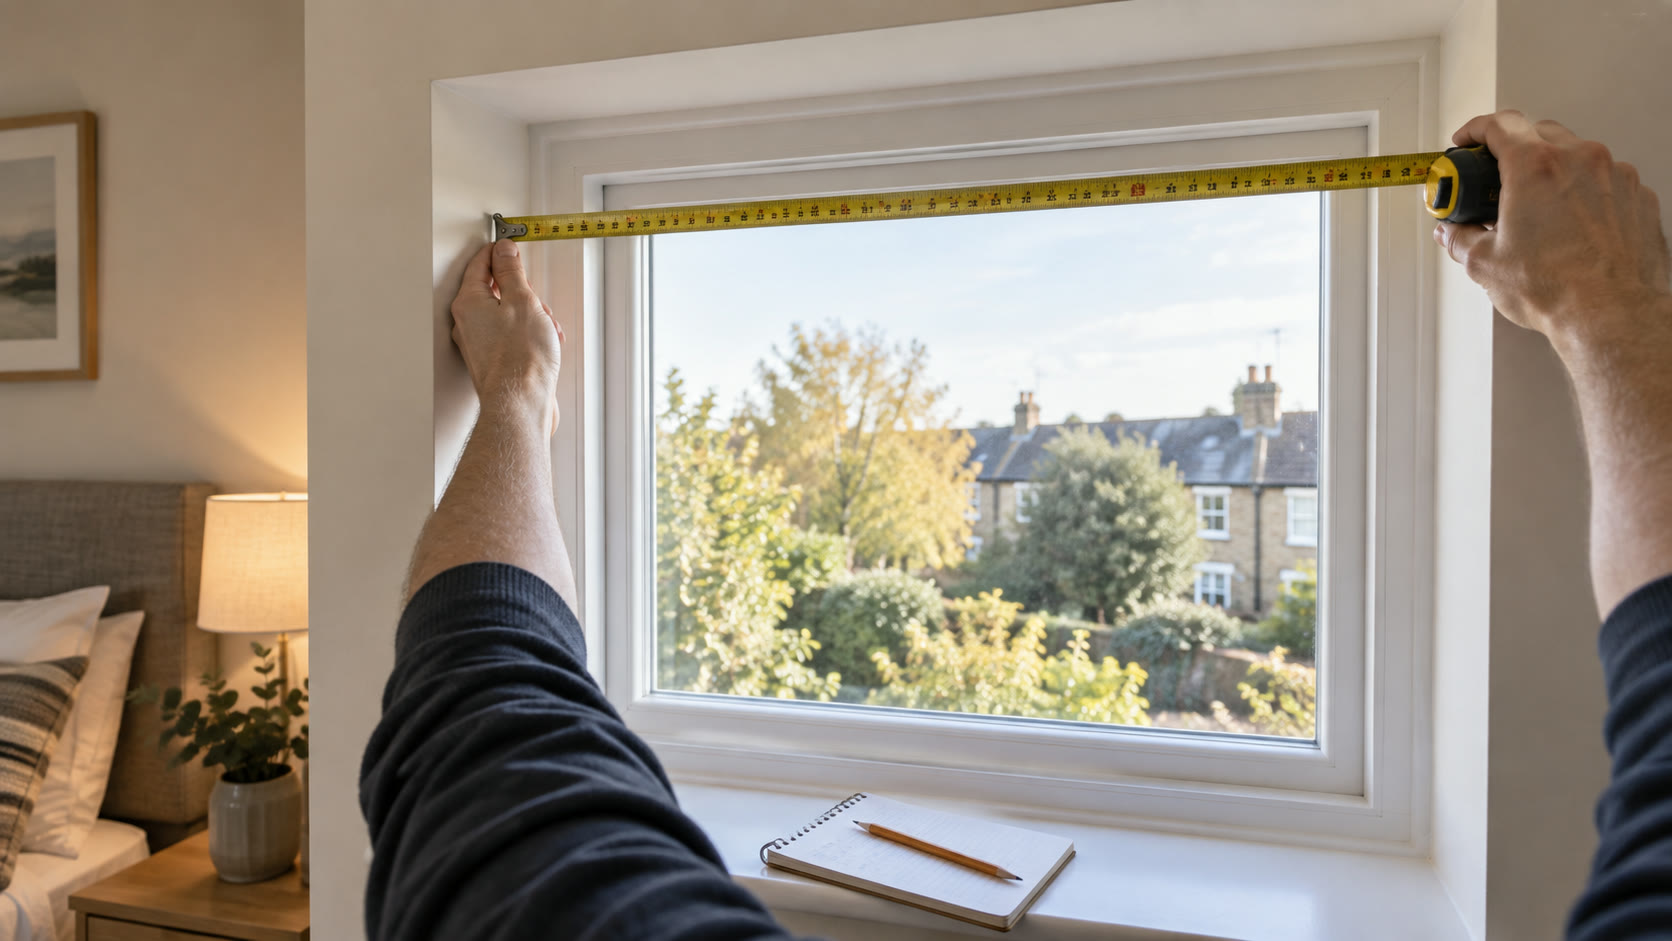
Inspect the opening before measuring it
A cassette blackout blind is more than an opaque cloth. The roll sits in a housing, and a tracked version guides the side edges through channels. This can reduce the bright lines around a simple roller, but the extra parts need actual space. Before taking a number, decide whether the assembly will sit inside the recess, on the frame face or on the wall outside it. The answer changes the order size and the likely light leakage.
Look at the whole window in daylight. Are the sides straight? Does plaster narrow at the bottom? Is there a projecting handle, a top-opening vent, tiles, a deep sill or an existing curtain pole? Open the sash fully. A cassette fixed neatly in a closed-window photograph may collide with an opening window. Check the surface where a rail would run from headbox to sill; it may be interrupted by a bead or hinge. The BBSA product-characteristic guidance is useful context for why blind systems have operating clearances and why a blackout fabric is not the same as a sealed room.
Gather a rigid metal tape, pencil, paper and a spirit level. Work in millimetres. Take a clear photograph of the opening and write a short sketch showing which dimensions are glass, recess, frame and wall. A bare number such as “900 wide” is too ambiguous when you return to the order form later.
Take a sequence of measurements
For an inside-recess installation, measure width at the top, middle and bottom of the position the housing and rails will occupy. Do not assume the visible glass is the relevant boundary. Measure the drop at left, centre and right from the intended top fixing line to the lower stop. Check with the level whether the top and sill are horizontal; a sloping sill can create a triangular bottom gap even when the side rails fit tightly.
Next measure usable depth from the front of the reveal to the nearest obstruction. The cassette needs enough room for its housing, fixings and moving fabric. A handle can reduce available depth more than the window frame itself. Measure the flat strip on each side where a rail would attach, taking account of gasket, bead and screw positions. If the selected model uses adhesive, a dusty or textured surface may be unsuitable even if the dimensions seem right.
For an outside-recess installation, mark a proposed top line and outer sides with low-tack tape. Measure the total wall area available for the complete housing and rails. Choose an overlap that covers the visible opening, but do not conceal a vent or make the window impossible to open. Check symmetry from the normal viewing position. Our outside-recess guide explains overlap in more detail.
| Measurement | Where to take it | Why it matters |
|---|---|---|
| Recess width | Top, middle and bottom at the planned mounting plane | Reveals often taper; rails need a usable path |
| Drop | Left, centre and right from the proposed headbox line | A sloping sill can expose a bottom corner |
| Depth | Front of reveal to handle or closest projection | Cassette and cloth need room to travel |
| Side fixing strip | Full height on both sides | Rails need continuous compatible support |
| Window movement | Open sash and handle sweep | A correctly sized blind must still allow normal operation |
Translate your notes into the seller's language
The most expensive error is assuming every maker uses “recess size”, “exact size”, “overall width” and “fabric width” in the same way. Some ask for the raw opening and make their own clearance deduction. Others expect you to supply the exact finished assembly width. A side-track system may separately state housing width and rail positions. Read the diagram for the selected variant and ask the supplier to clarify any ambiguity before paying for a custom item.
The Sol Royal K24 in our examples is a cassette with side rails that attaches to a suitable smooth surface. The FURNISHED blind is an ordinary roller whose fabric is narrower than its full mechanism. If both were sold at a nominal 90 cm width, they would still not describe the same coverage or fixing footprint. Do not copy an order dimension from one to the other.
If a maker offers a measuring template, use it and photograph it in place. Check whether end caps or rails must clear a handle at all blind positions, not just when lowered. Confirm the available drop includes the entire cassette and bottom bar. For a multiple-window installation, label each set of measurements separately; apparently identical windows can differ enough to spoil one blind.
Mock up the result before making holes
Tape a paper outline of the headbox and rails onto a stable surface if it will not damage the finish. Stand back. Can you still reach the handle? Will the cassette foul the curtain pole or coving? Is there a sound surface for every fixing? Do not drill into glazing beads, unknown services or a window section the manufacturer excludes. For an adhesive kit, follow the product's cleaning, temperature and curing instructions; extra glue does not solve an unsuitable surface.
Plan the control at the same time. A looped chain must use the supplied safety device and be kept inaccessible to children. The Office for Product Safety and Standards advises fitting tensioners or cleats properly and moving climbable furniture away from windows. If you cannot provide a safe fixing point, choose a cordless system. Once the blind arrives, compare its complete dimensions with your written measurements before drilling or peeling adhesive backing. For a deeper look at the trade-off, see cassette versus standard blackout blinds.
Products for this job
Two roller constructions to compare
A tracked cassette and a standard roller need different mounting space. Their named widths should never be treated as interchangeable.
Sol Royal K24 cassette blackout blind with side rails, black, 90 × 175 cm
Best for: A framed no-drill installation on a smooth window
A no-drill cassette roller supplied with adhesive side rails. The frame manages the routes around the fabric more directly than an open roller, provided the window surface is flat, smooth and carefully prepared.
What stands out
- Top cassette and side rails are supplied as one system
- Adhesive installation avoids conventional drilling
- Several listed widths and three neutral colours
Keep in mind
- Surface preparation and flatness are critical
- The cloth is narrower than the complete mechanism
- The looped chain and safety device need careful positioning
- 90 × 175 cm variant
- Polyester
- Adhesive side rails
- Chain controlled
FURNISHED blackout roller blind, black, 60 × 165 cm
Best for: A familiar daily blind in a standard bedroom
A conventional coated roller blind with a broad size range and several fitting positions. It is useful when you want an everyday blind rather than a panel that must be removed each morning.
What stands out
- Many width and drop options are listed
- Can be fixed inside or outside the recess
- A trim-to-width route for awkward standard sizes
Keep in mind
- The fabric is about 4.5 cm narrower than the complete mechanism
- The looped chain and supplied safety device must be fitted correctly
- An ordinary roller does not seal the sides
- 60 × 165 cm
- Coated polycotton
- Bracket mounted
- Chain controlled