
The short answer
Side tracks target the bright vertical strips ordinary rollers leave
Rails overlap or capture fabric edges to interrupt direct side-light routes. Some integrated rails also guide the blind; separate light-baffle channels do not necessarily retain the cloth. Compare a complete system or consider a retrofit only after checking the moving parts, fixing surface and window clearance.
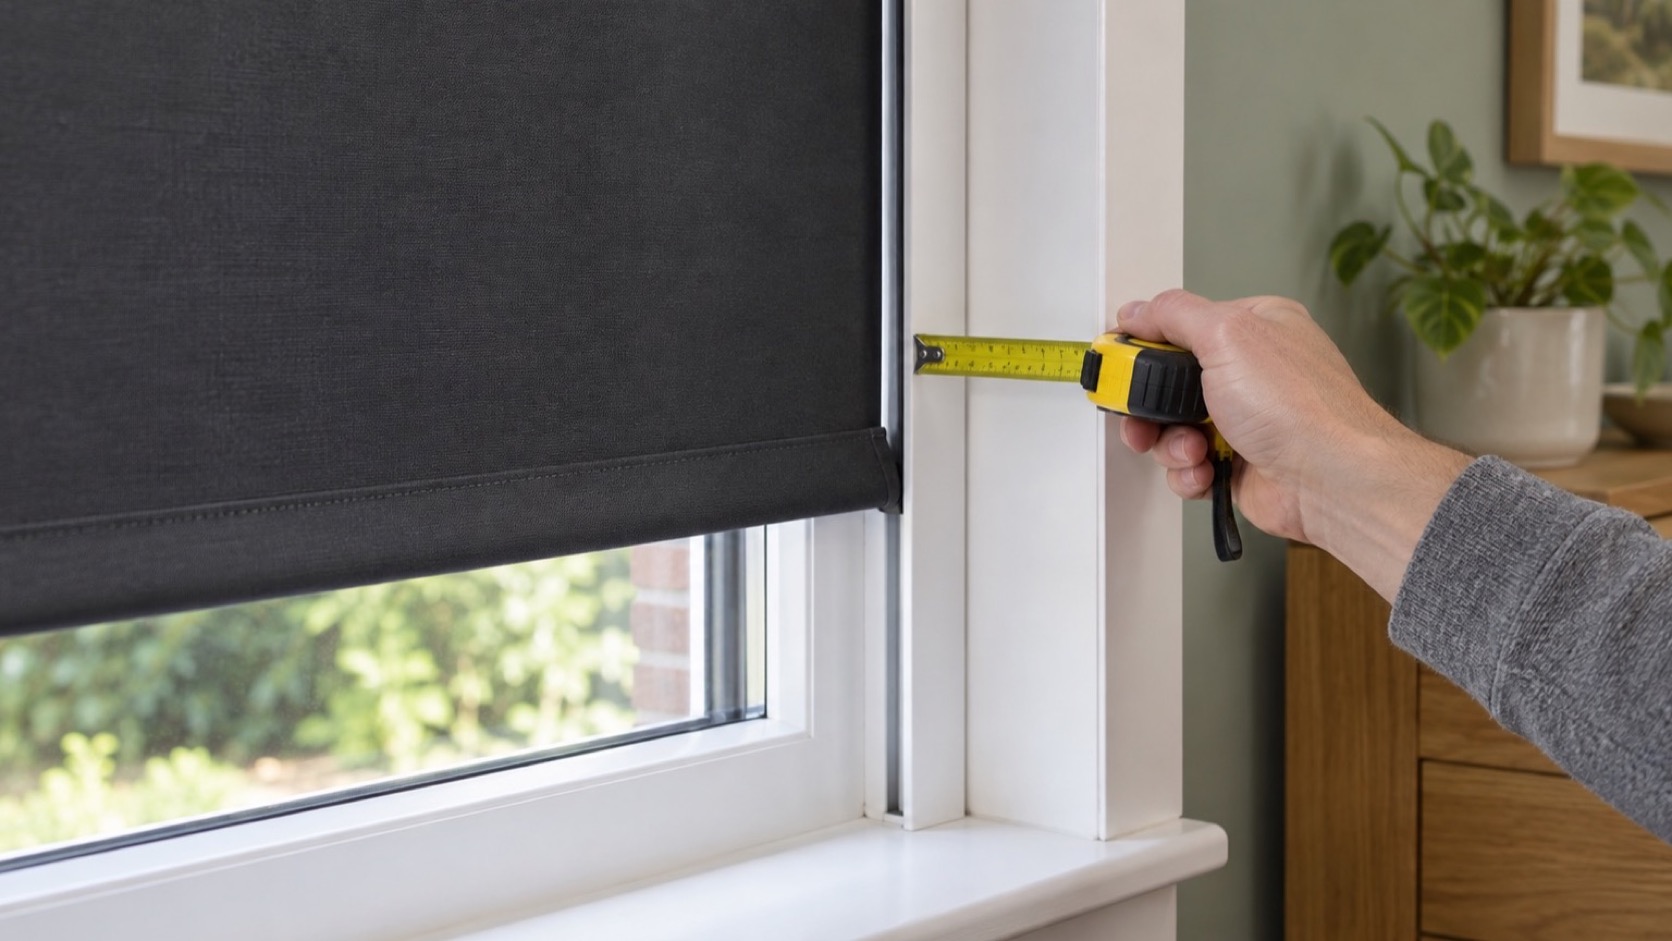
Measure the fabric path and full mechanism separately; a channel must guide without pinching.
Treat top-cassette and bottom-sill gaps as part of the same problem.
Choose cordless controls where possible, or install every chain safety device exactly as directed.
Product shortlist
Integrated and retrofit track options
One option is a complete adhesive cassette roller; the other is a screw-fixed pair of channels for a compatible existing blind. The custom framed cellular system shows a different full-frame route.
Sol Royal K24 cassette blackout blind with side rails, black, 90 × 175 cm
Best for: A framed no-drill installation on a smooth window
A no-drill cassette roller supplied with adhesive side rails. The frame manages the routes around the fabric more directly than an open roller, provided the window surface is flat, smooth and carefully prepared.
What stands out
- Top cassette and side rails are supplied as one system
- Adhesive installation avoids conventional drilling
- Several listed widths and three neutral colours
Keep in mind
- Surface preparation and flatness are critical
- The cloth is narrower than the complete mechanism
- The looped chain and safety device need careful positioning
- 90 × 175 cm variant
- Polyester
- Adhesive side rails
- Chain controlled
Aluminium U-channel light-blocking side tracks, white, 95 cm pair
Best for: Reducing bright side strips on a compatible roller
A pair of drill-fixed aluminium U-channels intended to cover the side clearance on a compatible roller blind. They are a retrofit component, not a complete blind, so channel depth, fabric path and sill clearance all need checking.
What stands out
- Aluminium construction
- Can be cut to a shorter length
- Several listed colours and lengths
Keep in mind
- Requires drilling and accurate alignment
- Not listed for cellular or honeycomb blinds
- A bottom and top route may still remain
- 95 cm pair
- Aluminium
- U-channel
- Screw fixed
TIPIACE framed top-down bottom-up cellular blackout blind, black
Best for: A made-to-size recess with flexible top-down control
A custom-size honeycomb blind inside a full aluminium frame. The fabric cells conceal the internal lift cords, while the frame addresses side leakage more directly than a free-hanging cellular blind.
What stands out
- Full frame manages perimeter light
- Cordless top-down bottom-up operation
- Custom dimensions for non-standard openings
Keep in mind
- Needs a deep, square recess and screw fixing
- Custom products require especially careful measurement
- The configured item may not be returnable if dimensions are wrong
- Custom size
- Honeycomb fabric
- Aluminium frame
- Cordless manual control
Side-track formats at a glance
Compatibility depends on the exact reveal, blind and selected variant. Do not order tracks from the window glass measurement alone.
| Format | What is supplied | Fixing | Best for | Main risk |
|---|---|---|---|---|
| Cassette roller | Blind, top cassette and rails | Adhesive on compatible surface | A coordinated everyday system | Poor adhesion or obstruction |
| Retrofit U-channels | Pair of cuttable aluminium rails | Drilled and screwed | An existing compatible roller | Fabric rub or misalignment |
| Full cellular frame | Custom blind and complete surround | Screw-fixed made-to-size frame | A deep square recess | Measurement error on a custom order |
What side tracks actually do
A standard roller blind needs clearance between its cloth and brackets. That creates a narrow exposed strip on each side. A side track places a channel over the cloth edge or immediately beside it, interrupting the direct path from outside to the room.
An integrated guide-rail system may also restrain sideways movement and guide the lower bar. A separate channel sold as a light baffle does not necessarily do either. Neither construction corrects a badly skewed blind, buckled cloth or unsquare opening by itself.
The British Blind and Shutter Association’s product guidance distinguishes product characteristics and fitting limitations across blind types. That is useful context: “blackout” is not one construction, and tracks designed for a roller may be unsuitable for pleated, Roman or cellular material.
Compatibility matrix: a rail is not a complete system
Use this matrix to decide what evidence you need—not to approve a retrofit. A complete kit coordinates its parts; separate rails introduce a new interface with an existing blind. None of the featured products is established here as interchangeable with another.
| Check | K24 cassette kit | Separate U-channels | Custom cellular frame |
|---|---|---|---|
| Cloth and rail interface | Use supplied cloth and rails together | Verify channel opening against the actual moving cloth path | Use the specified cellular panel and surround |
| Headrail and bottom bar | Check the supplied ends, joints and travel | Must clear existing brackets and bar; compatibility unconfirmed | Confirm how the operating rail travels within its frame |
| Fixing substrate | Adhesive: exact approved surface and preparation | Screws: sound fixing points clear of glazing and services | Frame fixing: follow the exact order and installation specification |
| Window operation | Check cassette/rail projection and handle access | Check added rail depth throughout the sash movement | Check the complete surround, not just the cloth rectangle |
| Top and sill closure | Inspect cassette joins and the intended lower stop | Rails alone do not add a cassette or a sill seal | Confirm all four frame junctions and lower closure |
| Control safety | Fit the supplied loop-safety provision as directed | Existing control risks remain; the channels do not correct them | Confirm selected control and secure installation |
Why an overlapping channel is not always a guide rail
Horizontal cross-section: edge overlap and fabric clearance
Vertical section: the bottom bar can be the obstruction
For a documented complete-system example, BlocOut’s construction glossary describes side rails alongside a rubber lower seal. Its measuring guide distinguishes recess, edge and surface fitting, with different depth requirements by model. Those instructions apply to the named BlocOut range—not to the K24 kit, separate channels or cellular frame above.
A practical go/no-go record
Write down the existing blind’s exact model, cloth-edge position, lower-bar profile, maximum roll projection and the proposed rail’s internal opening. Then record the fixing surface, handle movement, vent position and maker’s approved fitting method. An unknown bar profile or missing compatibility statement is a reason to pause, not a reason to assume the rail will fit.
If the cloth would rub, the lower bar would catch, the rail would obstruct a vent or the fixing would compromise the window, reconsider the arrangement. Use the retrofit decision guide for the installation checks, or a separate curtain layer where changing the roller system is impractical. Keep every control-safety requirement in place; a side track is not a child-safety device.
Three common systems
Complete cassette roller
A coordinated system includes the roller, top cassette and two rails. Because the parts are designed together, cloth width, lower bar and track opening should align. This is the clearest route for a new installation.
The Sol Royal K24 featured above uses adhesive rails on a compatible smooth surface. Its convenience depends on careful cleaning and flatness. Measure the full cassette, check handle clearance and plan how the looped chain safety device will attach before peeling any backing.
Retrofit U-channel
Separate U-channels can cover the exposed edges of an existing roller. They appeal when the blind itself is sound and the side strips are the obvious weakness. The featured aluminium pair is screw-fixed and listed as cuttable.
Compatibility is the difficult part. The fabric must enter the opening without being pinched. If the blind rolls slightly to one side, a narrow track can abrade it. A protruding seam or wide lower bar may not pass through the channel. The listing also excludes cellular blinds, illustrating why a generic “fits blinds” description is insufficient.
Full framed blind
A full-frame system treats the head, sides and often sill as one assembly. The TIPIACE cellular example uses a custom aluminium surround. This can give strong perimeter control and flexible operation, but it needs depth, squareness and a permanent fitting.
For a costly custom system, ask what happens at each corner and how the size is derived. Confirm return terms before ordering. A measurement mistake is more serious when the item is made specifically for the opening.
Measuring before choosing tracks
Lower the existing blind and measure where the fabric actually travels. Record the distance from cloth edge to reveal on both sides at the top and bottom. Check whether the lower bar is wider than the cloth. Operate the blind several times and note any lateral drift.
Measure reveal depth at multiple points. Include handles, hinges, trickle vents, tiles and inward-opening sashes. A channel placed too far forward may look awkward; too far back may block the window or sit on an uneven seal.
Check the sill. A vertical track that stops above it can leave a bright lower corner. A channel that extends too far can obstruct drainage, cleaning or a handle. Never drill into the window frame without confirming that the position is permitted and will not damage glazing, hidden components or the warranty.
Fitting sequence for retrofit rails
Read the supplied instructions first. Offer both rails into place with the blind fully lowered. Use removable low-tack tape only if appropriate to hold a trial position, then operate the blind slowly. Confirm the cloth stays free and the lower bar can finish correctly.
Mark fixing points on a sound substrate. Check for cables and pipes in walls and for window-frame restrictions. Cut only when the product permits it, using the recommended tool. Deburr the edge so it cannot catch the fabric.
Fix one rail lightly, verify it is plumb, then position the second relative to the actual cloth. Test the complete travel before tightening. A few millimetres of error can make the blind bind. Never force the control; resistance indicates alignment, debris or clearance needs correcting.
Adhesive rails need a different method
Adhesive systems avoid screw holes but are not simply press-and-go. The substrate needs to be clean, dry, smooth and compatible. Fresh paint, textured plaster, silicone residue and cold damp surfaces can reduce adhesion. Follow the maker’s preparation and cure time.
Trial positioning is particularly important because strong tape may not be repositionable. Mark a light reference line, check the window still opens and ensure the cassette is level. Avoid adding unrelated glue, which can damage the surface and make later servicing difficult.
Controls and child safety
Side tracks improve darkness, not control safety. A chain-operated cassette can still present a loop. The Office for Product Safety and Standards says safety devices supplied with looped controls must be fitted and warns against placing cots, beds and furniture near them.
Choose a safe-by-design cordless or concealed-control system for rooms used by young children where possible. If a chain is unavoidable, establish the tensioner fixing location before buying. Do not hide an unsecured chain behind a curtain.
Maintenance and troubleshooting
Vacuum loose dust from channels with a soft tool and wipe according to the finish instructions. Do not lubricate tracks unless the manufacturer specifies a compatible product; oily residue attracts dust and can stain fabric.
If the blind judders, rises unevenly or frays, stop. Check for a shifted rail, screw head, debris or telescoping roll. If adhesive begins to release, support the assembly and refit according to instructions rather than pressing a failing strip repeatedly.
When tracks are the wrong answer
Tracks will not fix light above an exposed roll, through another window or under the door. They may be excessive where ordinary outside overlap and curtains would hide the small edge glow. In a rental, drilling or strong adhesive may also be inappropriate.
Map the bright routes at the time that matters. If side strips dominate, tracks are a focused solution. If the entire perimeter glows or the reveal is very irregular, a full frame, face-fixed overlapping cover or layered curtain may be more forgiving.
For complete options, compare our total-blackout systems. For a standard open blind, start with the blackout roller blind guide.
Clear answers
Frequently asked questions
Short answers to the fitting, use and care questions that most often change the result.
Do side tracks make a roller blind completely blackout?
They can greatly reduce direct light at the vertical edges, but the cassette, corners and sill still matter. An uneven reveal may also leave a faint halo, so complete darkness should not be assumed.
Can side channels be added to an existing blind?
Sometimes. The fabric must align with the channel opening, clear the lower bar and travel without rubbing. Check the track maker’s compatibility and measure the actual fabric path, not just the recess.
Do blackout blind tracks need drilling?
Many retrofit aluminium channels are screw-fixed; some complete systems use adhesive rails. Adhesive still needs a flat compatible surface and careful preparation, while drilling requires a sound fixing location.
Can I cut aluminium side tracks to length?
Some products are designed to be cut. Follow the instructions, protect the finish, deburr the cut and keep both rails exactly equal. Do not cut a system that the manufacturer says must remain unaltered.
Are side-track blinds safe for children?
The track itself does not make the control safe. Prefer cordless operation; where a looped chain is used, fit the supplied tensioner or other safety device and keep furniture and sleeping spaces away.