
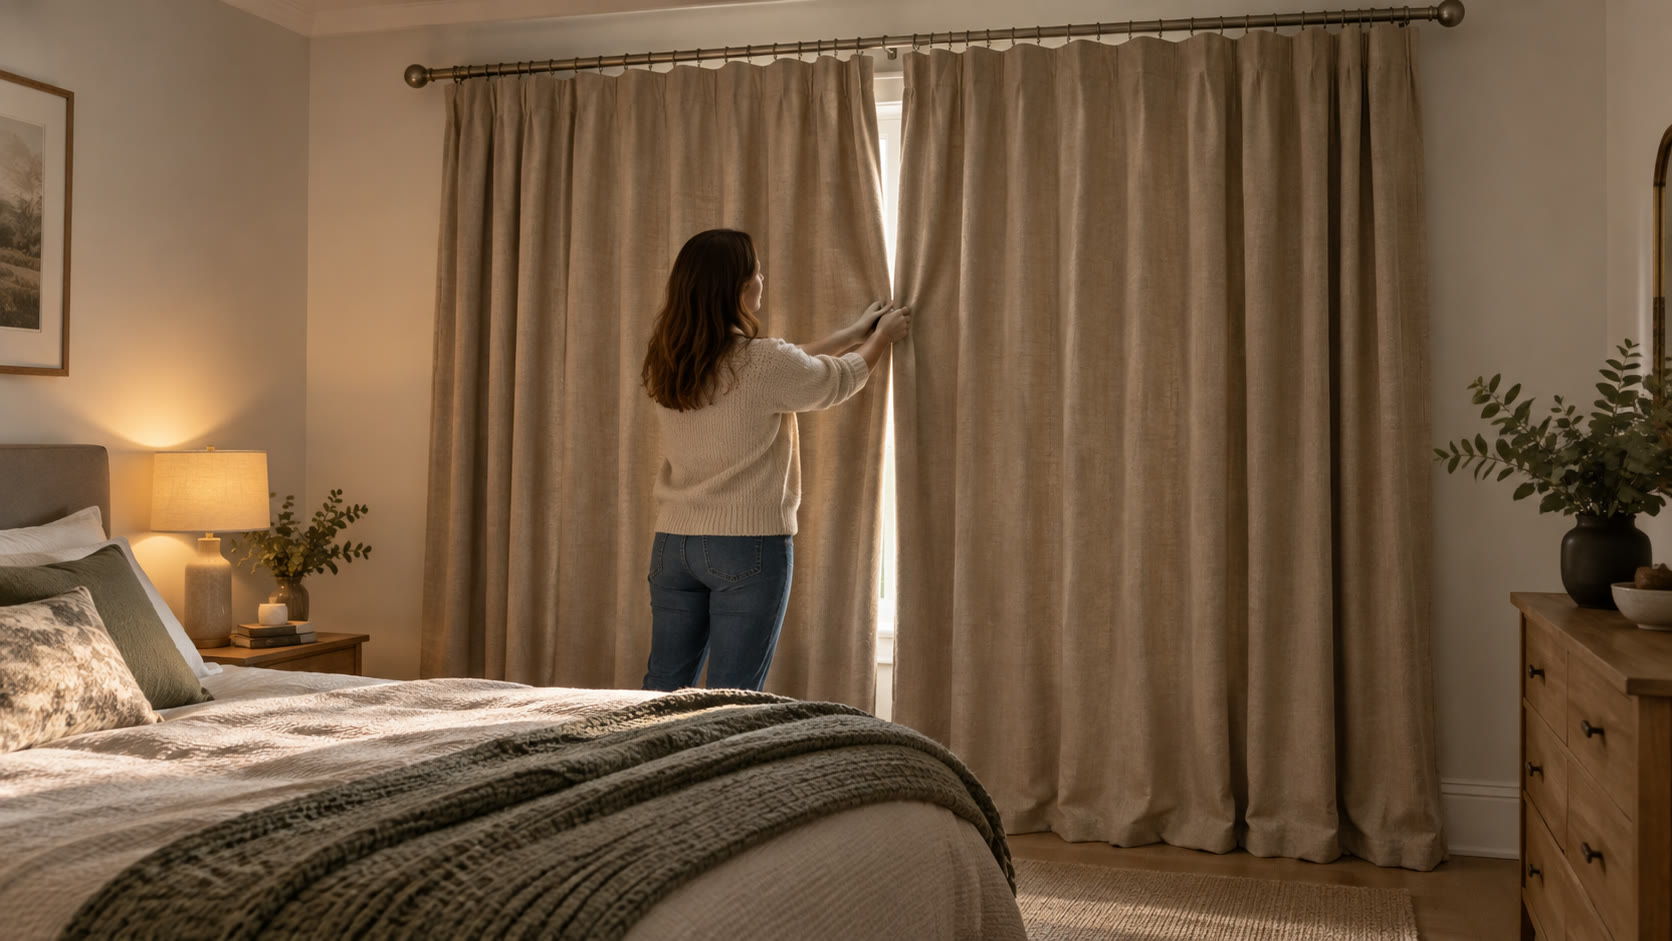
Plan the whole window, not just the fabric
Blackout curtains work best as a coverage system. The opaque panel is one part; the pole or track position, width, heading, centre meeting point, side return and hem determine where daylight can still enter. A beautiful lined pair may disappoint if it hangs within the recess or barely reaches the frame.
Stand in the position where darkness matters. In a bedroom that may be the pillow, not the doorway. With existing curtains closed, note whether the strongest light comes from above, each outer edge, the centre join or below the hem. A phone photo at the relevant time of day helps distinguish a fitting problem from thin fabric.
Dunelm's guide to measuring curtains starts from the width of the pole or track rather than the glazing and explains that heading style changes the required fabric width. Its track-and-pole guide gives around 20 cm of extension either side as a common planning allowance. Treat this as a retailer's example; a wide sash, shallow wall or nearby cupboard may call for more or less.
The pole should give the closed panels room to cover the sides and, if possible, let the open stack sit beyond the glass. A pole that ends at the frame forces the fabric to occupy the window even when open and leaves little side overlap when shut.
Choose the right width and fullness
Check whether a listing describes the width of one panel or the combined pair. This is an easy purchasing error. For a gathered look, the combined flat fabric width must exceed the pole span. Dunelm's guidance uses roughly twice the track or pole width for some common headings, but eyelets, pencil pleats and wave tracks have different arrangements. Follow the chosen heading's instructions.
Too little fullness creates a tight centre join and opens gaps around pleats. Excessive fullness can also be problematic if it makes heavy panels difficult to stack or causes them to bunch against a radiator. The aim is enough fabric to close without strain and retain natural folds. Measure the actual pole, excluding decorative finials, and check the selected pair's flat dimensions.
Consider the return at each end. Some tracks curve towards the wall; some poles can accept a final ring positioned between the finial and outer bracket. These arrangements can pull the outer panel closer to the wall. They are not suitable for every heading or fixing, so check the hardware rather than pinning fabric to paint.
Match hardware to the weight
Blackout linings add weight. Confirm the load rating and fixing instructions for the pole or track, especially for a long span. A centre bracket may be required. Use fixings suited to the actual wall substrate, not generic plugs in weak plaster. Check for hidden cables or pipes before drilling and avoid compromising a window frame or lintel.
Track systems can offer neat centre overlap and wall returns, while poles are familiar and decorative. An eyelet curtain needs a pole with a suitable diameter. Pencil pleats need hooks and compatible rings or gliders. A wave curtain needs the specified track and glider spacing. Mixing a heading with the wrong hardware can prevent full closure.
Where a rental agreement restricts drilling, ask permission before altering the wall. A tension pole in a recess is convenient but rarely provides the wide and high overlap that a fitted blackout pair needs; check load and slip risk before relying on it for heavy curtains. A temporary blind behind existing curtains may be a more practical reversible layer.
Hang, close and adjust the panels
Support each panel while fitting it. Work from a stable step platform, with another adult helping for wide or heavy curtains. Do not pull the full weight by one eyelet or hook. Put all hooks in consistent positions, and make sure gliders or rings move freely across the whole span.
Close the curtains completely and let the fabric settle. Check the top edge: a pole set too low may leave a bright strip between the heading and wall. The heading itself can have perforations or eyelets that admit small points of light. A pelmet, deeper heading or blind behind it can reduce that route if the room needs stronger darkening.
Check the centre in daylight. If panels only just meet, confirm you bought the correct total width and hung the right hook positions. A track with an overlap carrier may pull one lead edge in front of the other. On a simple pole, an extra ring or a fuller pair may be more appropriate than a makeshift clip that strains the seam.
Walk to both outer edges. Does the curtain return towards the wall, or can you see the side of the window from the bed? A small return, a wider pole or a separate fitted blind can solve different versions of that problem. Keep fabric clear of sharp handles and moving sashes.
Set the drop thoughtfully
Measure the drop using the instructions for the selected heading. Eyelets hang below their ring tops; pencil pleats can be adjusted with hook positions; wave curtains sit differently again. A nominal panel length is not the finished distance from pole to floor in every setup.
A hem ending well above the sill may leave a bright horizontal band. A floor-length panel usually provides more forgiving coverage, but avoid a large puddle where cleaning, condensation or movement is a concern. If curtains sit over a radiator, do not trap fabric against a hot surface or obstruct heat circulation; consider a shorter drop or another layer.
Check that the curtain can move without scraping the sill or catching a handle. If a pair needs shortening, use a competent alteration service or a method approved for its lining. Cutting or ironing a coated blackout backing without understanding the construction can damage it.
Troubleshoot persistent light gaps
Top glow usually points to hardware too low, an exposed rail or a gap behind the heading. Side glow points to insufficient overlap or no return. Centre glow points to inadequate combined width, incorrect hook placement or an unhelpful track meeting. Bottom glow points to drop or sill geometry. Solve the dominant route first; changing the fabric colour alone will not change any of these.
If the curtain is already well fitted but the room remains bright, add a compatible blackout blind behind it. Staggered edges can interrupt light paths more effectively than either treatment alone. A face-fixed roller or framed blind may be appropriate; compare blackout curtain buying options and our guide to reducing light gaps.
For children’s rooms, keep cords and chains from any blind layer inaccessible and place cots and climbable furniture away from the window. The Office for Product Safety and Standards gives current UK guidance on blind cords and supplied safety devices. Secure poles and brackets as well; darkness does not outweigh a safe installation.
Review the result in real use
Open and close the pair several times. Check that the leading edges still meet, brackets do not move and no fabric catches. Repeat the light check when the sun reaches the window, because an evening inspection may hide an obvious morning leak. Keep access to handles, ventilation and any required escape opening. The useful result is a curtain arrangement that closes reliably every day and still lets the window function.
Products for this job
Curtain examples for planning coverage
Compare panel width, heading and care before ordering; neither pair can compensate for a pole that is too short.
Deconovo blackout eyelet curtains, black, 46 × 54 in, pair
Best for: An affordable ready-made eyelet pair
A widely sized pair of soft eyelet curtains made for a standard pole. The dark colour is useful where room darkening matters more than a pale decorative finish.
What stands out
- Many size and colour variants are grouped under the listing
- Pair format suits conventional bedroom windows
- Simple eyelet heading is quick to hang on a compatible pole
Keep in mind
- Darkening depends on pole position, width and centre overlap
- Eyelets can leave a bright band above a low-mounted pole
- The listing's thermal wording is not a measured room-saving guarantee
- 46 × 54 in
- Pair
- Eyelet heading
- Polyester
PONY DANCE blackout eyelet curtains, grey, 46 × 54 in, pair
Best for: A grey pair across a standard window
A soft grey two-panel eyelet set with a very broad group of size variants. It is a practical neutral choice when you can create useful overlap beyond the window.
What stands out
- Two-panel set
- Many width and drop combinations are listed
- Neutral colour works with layered blinds
Keep in mind
- Room darkening varies with the selected colour and installation
- A pole close to the recess can expose top and side light
- Exact dimensions must be checked on the selected variant
- 46 × 54 in
- Two panels
- Eyelet heading
- Grey