
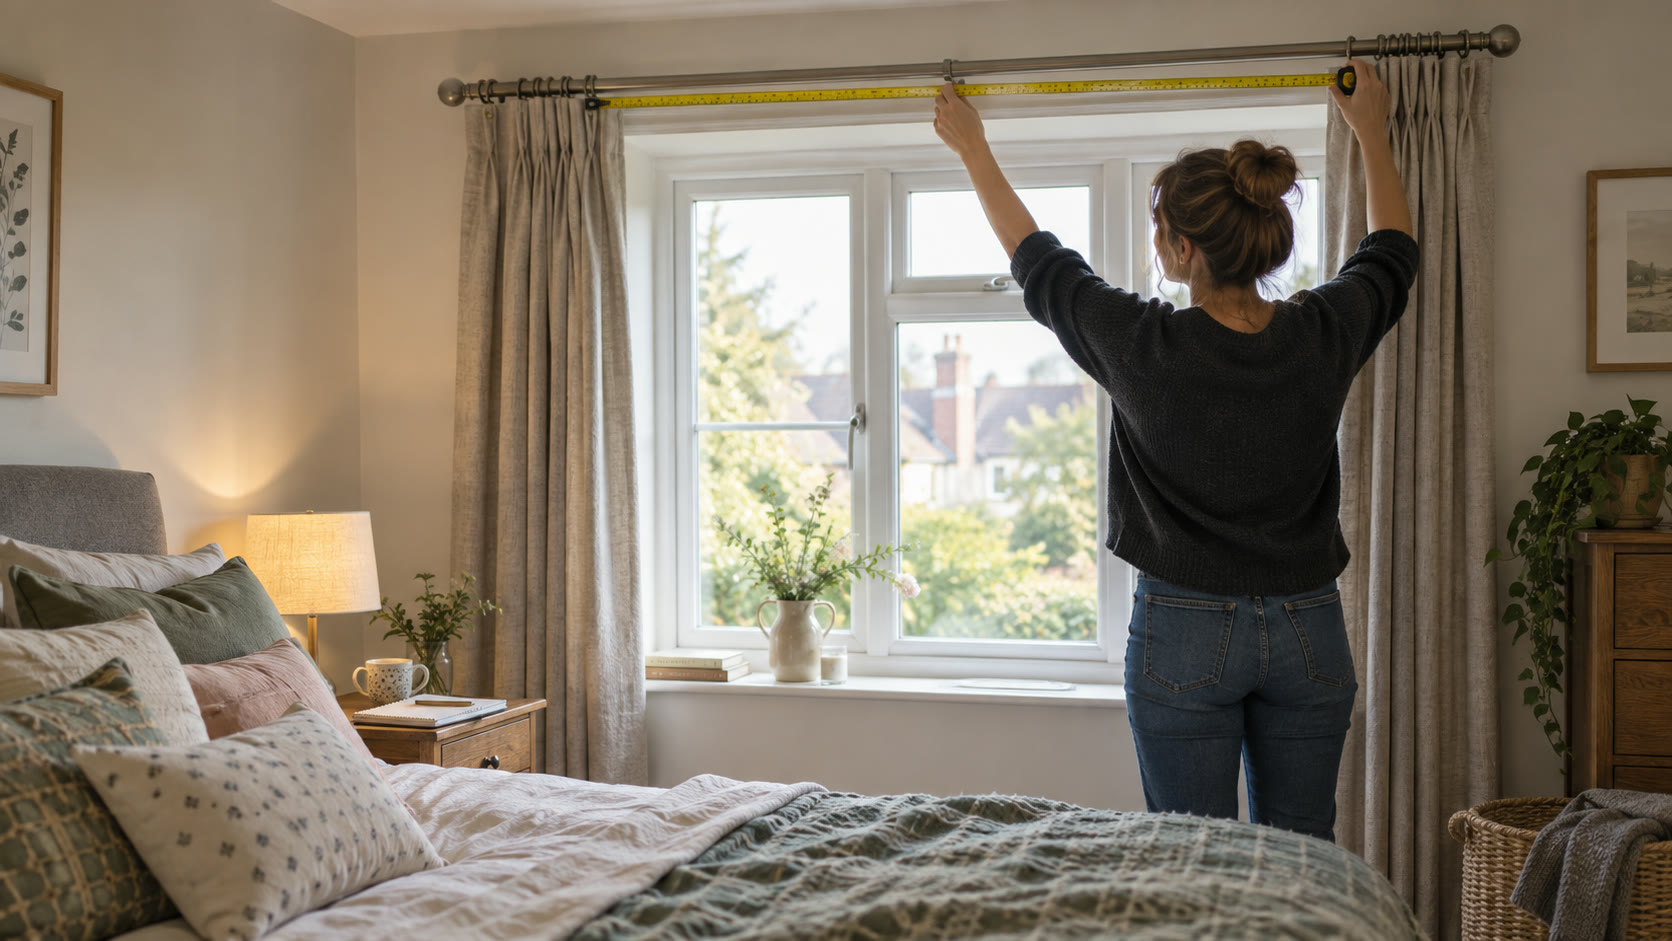
Start with the installed width, not the glass
A blackout curtain needs to cover more than the pane. First measure the opening, including frame or architrave. Then decide where the pole or track can sit. If it already exists, measure its usable hanging length between end stops or brackets, not the length including decorative finials. If it is new, mark a provisional line on the wall and check for wardrobes, pipes, sockets, coving, opening sashes and secure fixing points.
John Lewis's curtain buying guide suggests a pole around 15–20 cm beyond each side of many windows and around 10–15 cm above. These are useful starting points, not universal blackout dimensions. A deep recess, wide window, bulky stack or nearby wall may change the allowance. For a particularly dark room, the finished fabric should still cover the opening after folds and returns consume some width.
Record three widths: opening, usable hardware length and available wall width. This prevents ordering a pair that fits the glass yet cannot span the pole. Write all dimensions in centimetres or millimetres consistently; ready-made packs may also show inches. Check conversions before committing to a size.
Translate pole width into panel width
The flat widths printed on a packet do not equal the width the curtains cover once gathered. A pencil-pleat pair is drawn up on heading tape; eyelets form regular folds; wave headings require the specified track spacing. Dunelm's measuring guide explains the heading-dependent calculation and uses roughly twice the pole or track length as a common starting fullness for several styles. Follow the actual heading instructions rather than applying one ratio blindly.
For example, if the usable pole is 200 cm, two panels of 140 cm flat width give 280 cm of fabric before any gathering. That is only 1.4 times the span, which may look stretched when closed. Two 200 cm panels give twice the span, but a wide, heavy pair may need stronger hardware and more stacking room. The arithmetic is a planning check, not a promise of perfect darkness.
Read the listing carefully: “46 × 54 inches, pair” might mean each panel is 46 inches wide. Another listing may use the combined width. Confirm panel quantity, individual flat width and finished drop for the exact selected size and colour. Our fullness guide walks through the calculation in more detail.
Measure from the right point for the heading
Choose a finished location first: just above the sill, below it, or near the floor. A floor-length pair usually gives more lower coverage, provided it does not obstruct a radiator, collect condensation or become a trip hazard. Measure from the installed pole or track to that finish, checking left, middle and right if the floor or sill varies. Do not measure from a bracket mark alone if the final pole height may change.
The measurement origin changes with the heading. An eyelet panel has fabric above the pole; a pencil-pleat panel hangs from hooks that may have several height settings; a track uses gliders. Dunelm's hanging guide distinguishes these arrangements. Use the seller's diagram for the chosen product, because a 229 cm labelled drop is not always a 229 cm distance from ceiling to hem.
If a ready-made drop falls between your ideal measurements, decide whether to move the hardware or alter the hem. Moving the pole can expose a top gap. Altering a lined or coated panel may need a professional who can preserve the backing and straight hem. Pin a temporary fold and close the curtains before cutting anything.
See where the drop measurement starts
The top of the pole, the little eye beneath a curtain ring and the top of a track are different reference points. The examples below follow the conventions in Dunelm’s measuring guide. Copy the reference point requested by your actual curtain supplier; do not transfer a drop unchanged between headings.
Eyelet on a pole
Pencil pleat on rings
Pencil pleat on a track
These are schematic reference diagrams, not scale drawings of a particular product. For example, John Lewis’s made-to-measure guidance treats the extra eyelet heading height separately from the pole-top measurement. That is why a ready-made packet’s total fabric length and a made-to-measure order field must be checked independently.
Your curtain measuring worksheet
Record one window at a time, using millimetres throughout. Fill in the sheet and print it for your order notes. Entries are not sent or saved by the site. The sheet records dimensions; it does not select a product or convert a measured drop into a universal order size.
Before ordering: confirm the supplier’s width/drop convention, two-panel quantity, heading and hardware, support and stack space. Use the pair-width calculator for flat fabric width; use the overlap diagrams for edge coverage. Keep vents, opening windows and safe access usable.
Check the complete installation before ordering
Mock up the intended pole ends with removable tape. Stand where the room's darkness matters, then check whether the planned side overlap hides the window when viewed obliquely. Check whether open panels can stack without blocking a door or radiator. At the top, ensure the heading will cover the window edge rather than leaving a bright band under the pole.
The eyelet and pencil-pleat examples below illustrate different measurement pathways; they are not equivalent sizes. A pencil-pleat pair needs hooks and a compatible pole with rings or track. An eyelet pair needs a pole of suitable diameter. Neither fixes a short pole. For a full fitting sequence, see how to hang blackout curtains, then use our overlap guide to check edge coverage.
Before drilling, identify the wall substrate and hidden-service risk. Fit supports appropriate to the load. Keep blind chains or cords in any layered treatment inaccessible to children; the UK product-safety guidance addresses loop hazards. Finally, save your measurements with the selected product's sizing diagram, so a later replacement can be checked against the same assumptions.
Products for this job
Two headings to measure differently
These examples use different hardware and listing dimensions. Check the exact variant and its heading instructions before ordering.
Deconovo blackout eyelet curtains, black, 46 × 54 in, pair
Best for: An affordable ready-made eyelet pair
A widely sized pair of soft eyelet curtains made for a standard pole. The dark colour is useful where room darkening matters more than a pale decorative finish.
What stands out
- Many size and colour variants are grouped under the listing
- Pair format suits conventional bedroom windows
- Simple eyelet heading is quick to hang on a compatible pole
Keep in mind
- Darkening depends on pole position, width and centre overlap
- Eyelets can leave a bright band above a low-mounted pole
- The listing's thermal wording is not a measured room-saving guarantee
- 46 × 54 in
- Pair
- Eyelet heading
- Polyester
Joydeco black pencil-pleat curtains, 55 × 96 in, pair
Best for: A long, track-compatible curtain pair
A long two-panel black curtain set with a pencil-pleat heading for hooks or a compatible track. The listing describes light reduction rather than a sealed whole-window result.
What stands out
- Two 55-inch-wide panels are listed
- Pencil-pleat heading can use rings or a suitable track
- Long 96-inch drop suits some tall openings
Keep in mind
- Hooks are not included
- Seller describes partial light blocking rather than a room seal
- The large drop may need alteration for a shorter window
- 55 × 96 in each panel
- Two panels
- Pencil-pleat heading
- Hooks not included