
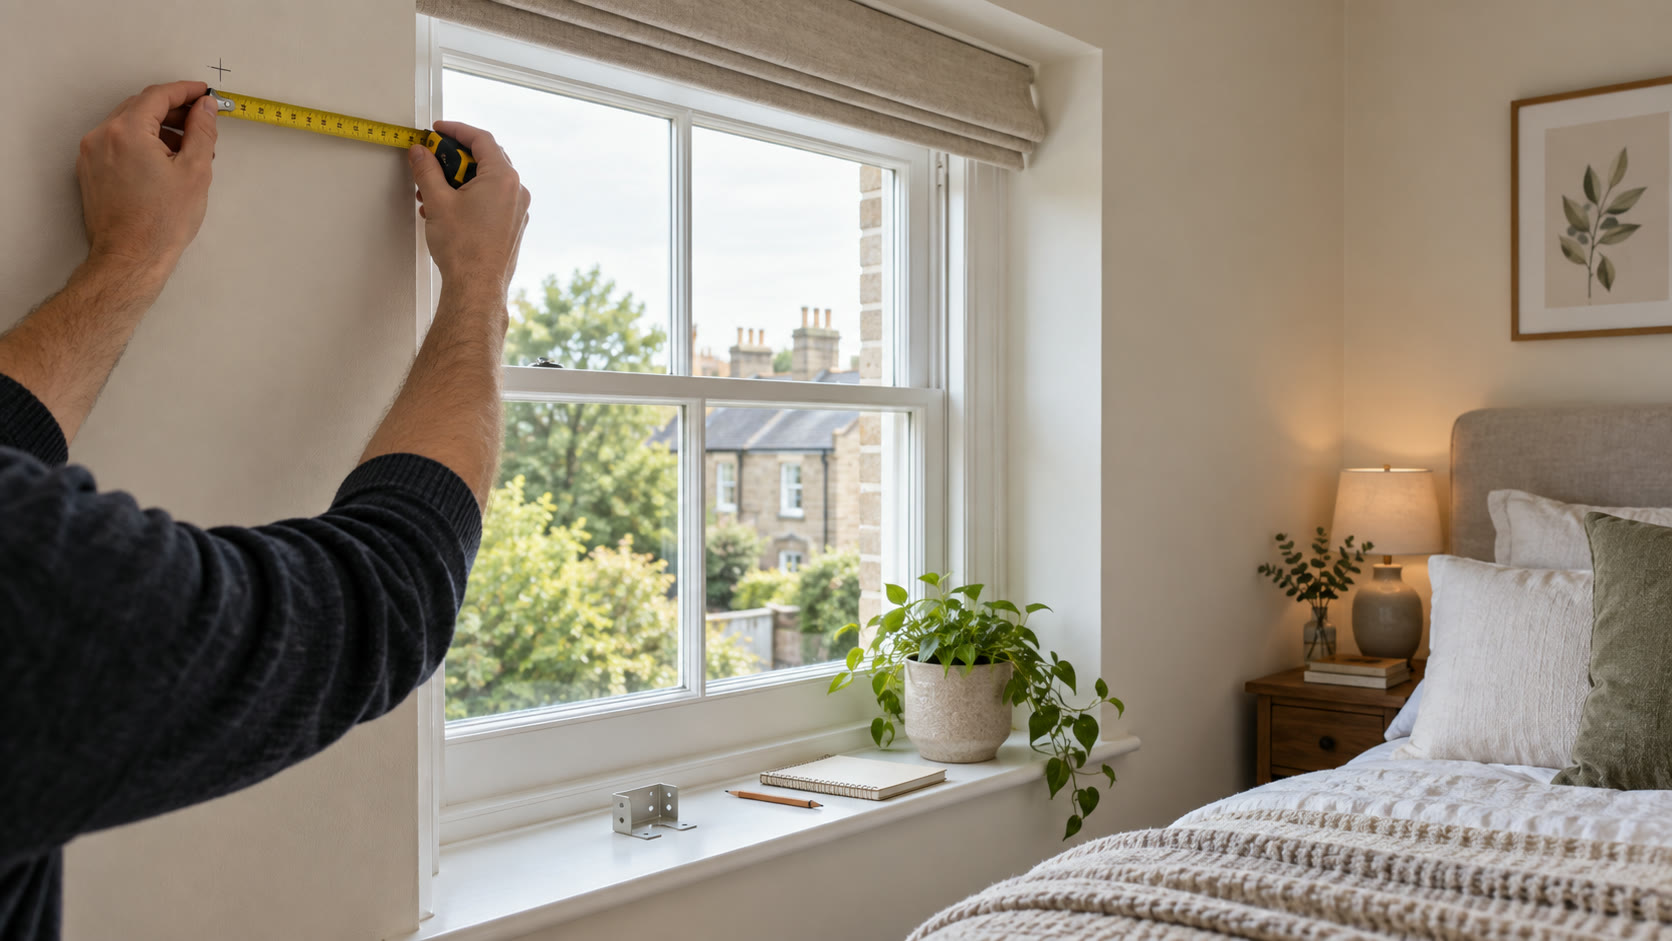
Why outside-recess measurements differ
An outside-recess, face-fixed or “exact size” blind covers an opening from its front rather than fitting within the recess. That lets opaque fabric overlap the bright edges of a window. It is often a useful route when the recess is shallow, handles protrude or a standard inside-fitted roller leaves distracting side strips. It also makes the complete blind more visible in the room.
First identify the opening you mean to cover. It might be the glass, the inner reveal, the whole frame or a fanlight above the main sash. Measure the widest visible area that would otherwise admit unwanted light. Check it at the top, middle and bottom because plaster and frames are rarely perfectly square.
You need wall space beyond that area on each side. Blinds 2go's roller measuring guide illustrates a generous outside overlap, recommending at least 50 mm to each side and 70 mm above for its method. Those figures are a helpful starting example, not a universal instruction: your bracket, control, handle and available wall may call for a different result.
The lower edge needs thought too. A blind ending exactly at the glass line can admit light beneath its bottom bar. A little overlap below the visible opening may help, but a projecting sill, radiator, window seat or desk can prevent a long drop. Decide where the blind can actually finish before buying it.
Map the space around the window
Stand back and look at the window as a whole. Note coving, picture rails, sockets, curtain poles, wall lights and adjacent furniture. A roller cassette needs physical room to mount and rotate without touching any of these. An opening sash must still clear the blind when raised. A blind fixed too far forward may interfere with a curtain rail; one fixed too close may catch a handle.
Look for a sound fixing surface. Crumbly plaster, a narrow timber architrave or a tiled edge may not carry the brackets safely. If the maker allows frame fixing, check the window manufacturer's restrictions before drilling. Do not drill near glazing beads, concealed services or an unknown lintel. A no-drill product has different compatibility checks and may not support the same overlap.
Control position matters before measurement. A looped chain needs space for the supplied safety device at the correct height and location. The Office for Product Safety and Standards warns about hazardous loops and says supplied safety devices must be installed. If a child uses the room, a safe-by-design cordless format is preferable where suitable.
Measure an outside-recess blind step by step
Use a rigid metal tape, pencil, paper and a level. Work in millimetres so you can compare dimensions with the seller's diagram. Measure the opening width at three heights and the opening drop at both sides and centre. Write every number down immediately; memory is unreliable when differences are small.
Choose a proposed fabric coverage width by adding the overlap that physically fits on both sides. The overlap need not be symmetrical if the window sits near a corner, but an off-centre blind may look conspicuous. Check that the blind can still be centred over the light-bearing part of the opening. Do not silently compensate for a nearby wall by assuming the cloth can be cut without the maker's approval.
Choose a top mounting line. Use the level to mark it lightly or place short pieces of low-tack tape. Measure from that line to the desired lower finish. Include the roll or cassette height if the product's drop convention requires it. Some blinds quote fabric drop; others include the complete mechanism. The order form is authoritative.
Finally measure the available horizontal space for the full mechanism. Rollers commonly have cloth narrower than their bracket-to-bracket width. If the opening is 900 mm wide and you order a 1,000 mm overall blind with cloth 45 mm narrower, the actual side overlap is less than a simple 50 mm on each side. This is only an illustration; use the chosen model's stated difference.
Plan unequal overlap and check the wall limits
When one side of the window is cramped, record each side separately. The fabric must cover the opening, while the complete assembly also has to fit around it. Use the maker’s actual hardware extension at each end; do not split a total fabric-width difference in half unless the product’s diagram confirms that split.
For this worked example only: a 1,000 mm opening has 120 mm of clear space on the left and 80 mm on the right. Chosen cloth overlaps are 60 mm left and 40 mm right; illustrative hardware extensions are 15 mm left and 20 mm right. The cloth needs 1,100 mm and the assembly 1,135 mm. Assembly projections are 75 mm left and 60 mm right, leaving 45 mm and 20 mm respectively. These are illustrative planning inputs, not a specification for the featured products.
Blank planning record
Record the dimensions below and use the formulas that follow. Keep a printed copy with the supplier’s diagram.
| Dimension | Your record (mm) |
|---|---|
| Opening width | ________________ |
| Left clear space | ________________ |
| Right clear space | ________________ |
| Chosen left fabric overlap | ________________ |
| Chosen right fabric overlap | ________________ |
| Left hardware extension | ________________ |
| Right hardware extension | ________________ |
Keep the calculation with the measurements
Fabric width = opening + left cloth overlap + right cloth overlap.
Assembly width = fabric width + left hardware extension + right hardware extension.
At each side, subtract cloth overlap + that end’s hardware extension from the available space. A negative result identifies a width conflict; a positive one does not confirm a sound fixing surface or sufficient movement clearance.
If only the total assembly-to-fabric difference is documented, the centred coverage calculator can help with overall width, but cannot establish these separate end clearances. The Blinds2go roller measuring guide illustrates why fabric-width and bracket-to-bracket orders differ. Follow your chosen product’s instructions; do not use this worksheet to make a recess deduction.
Test the proposed outline before ordering
Low-tack tape on a clean, stable wall can help you see the planned top and side edges. Stand in the doorway and at the bed or desk where the light matters. Is the blind balanced? Would it foul a handle, outlet, curtain or shelf? Can the bottom bar reach the intended finish without striking the sill?
Open the window fully with the tape outline in place. Check ventilation openings and escape use. A blind that blocks a necessary window function is the wrong specification even if its cloth coverage looks ideal. Remove the tape promptly and test first on a delicate painted surface.
If the wall or window is unusually shaped, sketch it. Record the smallest distance to each obstacle, not just the maximum clear span. A top corner can be crowded by coving while there is plenty of space lower down. This is a common reason that a theoretically wide blind cannot be installed as planned.
Understand the seller's width language
“Exact size”, “blind width”, “fabric width” and “recess size” are not interchangeable. For many roller blinds the named width is the overall mechanism, while fabric is narrower to make room for brackets and a control. Other makers ask for the desired cloth width and add hardware. A cassette system may specify a separate headrail dimension. Read the diagram attached to the selected size, not only a search-result headline.
Use our outside-fit fabric coverage calculator once you know the product’s complete finished width and total assembly-to-fabric difference. It separates the overlap achieved by the cloth from the extra width occupied by hardware; it does not replace the seller’s order instructions.
The FURNISHED roller in our product examples states that its cloth is narrower than the full mechanism. The cordless LazBlinds format has a different installation and control arrangement. Neither can be ordered safely by transferring a dimension from the other. If your measurement falls between stock widths, check whether the maker permits trimming and exactly which component may be altered.
For made-to-measure goods, take special care with the ordering convention. Some suppliers make a deduction for a recess order but none for an exact order; others provide a single custom width field. Verify the confirmation before finalising it. Custom-sized goods can carry different return terms if your dimensions are wrong.
Keep the light-gap goal realistic
Outside overlap blocks a direct view of the exposed side strips, but a face-fixed blind sits away from the wall. Light can still reflect around the edge, particularly on a bright white reveal. Raising the top mounting line and adding side overlap helps, but the final result depends on stand-off distance, material and room geometry.
If a very dark room is the priority, consider a cassette with side tracks or curtains in front of the roller. If the existing blind is sound, assess where daylight enters before replacing it. Our light-gap guide walks through that diagnosis.
Final checks to record
Keep one clear note containing opening width and height, proposed total blind width and drop, actual fabric width if known, top mounting line, side overlap, fixing surface, control side and nearby obstacles. Photograph the tape outline and the product's measuring diagram. These details make it easier to resolve any query before ordering and to verify the supplied item afterwards.
If you are unsure about a frame, uneven wall or large custom blind, ask the supplier to confirm the measurement in writing or use a professional survey. That small step is especially useful where a sizing mistake would be costly or difficult to reverse. Once the blind arrives, check the full assembly against your note before making holes.
Products for this job
Roller formats to compare
These examples have different mechanism widths and controls. Use their own fitting diagrams before translating your measurements into an order.
FURNISHED blackout roller blind, black, 60 × 165 cm
Best for: A familiar daily blind in a standard bedroom
A conventional coated roller blind with a broad size range and several fitting positions. It is useful when you want an everyday blind rather than a panel that must be removed each morning.
What stands out
- Many width and drop options are listed
- Can be fixed inside or outside the recess
- A trim-to-width route for awkward standard sizes
Keep in mind
- The fabric is about 4.5 cm narrower than the complete mechanism
- The looped chain and supplied safety device must be fitted correctly
- An ordinary roller does not seal the sides
- 60 × 165 cm
- Coated polycotton
- Bracket mounted
- Chain controlled
LazBlinds cordless no-drill blackout shade, black, 36 × 72 in
Best for: A window where a control loop is best avoided
A spring-operated cordless shade that attaches without conventional drilled brackets. It removes the hanging loop found on many ready-made rollers, but its stick-on installation still needs a compatible, clean surface.
What stands out
- Cordless spring operation
- No conventional drilling
- Opaque black fabric in the featured variant
Keep in mind
- A fixed ready-made width will not suit every recess
- Adhesive or pressure fittings still depend on the surface and instructions
- No-drill does not guarantee mark-free removal
- 36 × 72 in
- Cordless
- No-drill mounting
- Black