
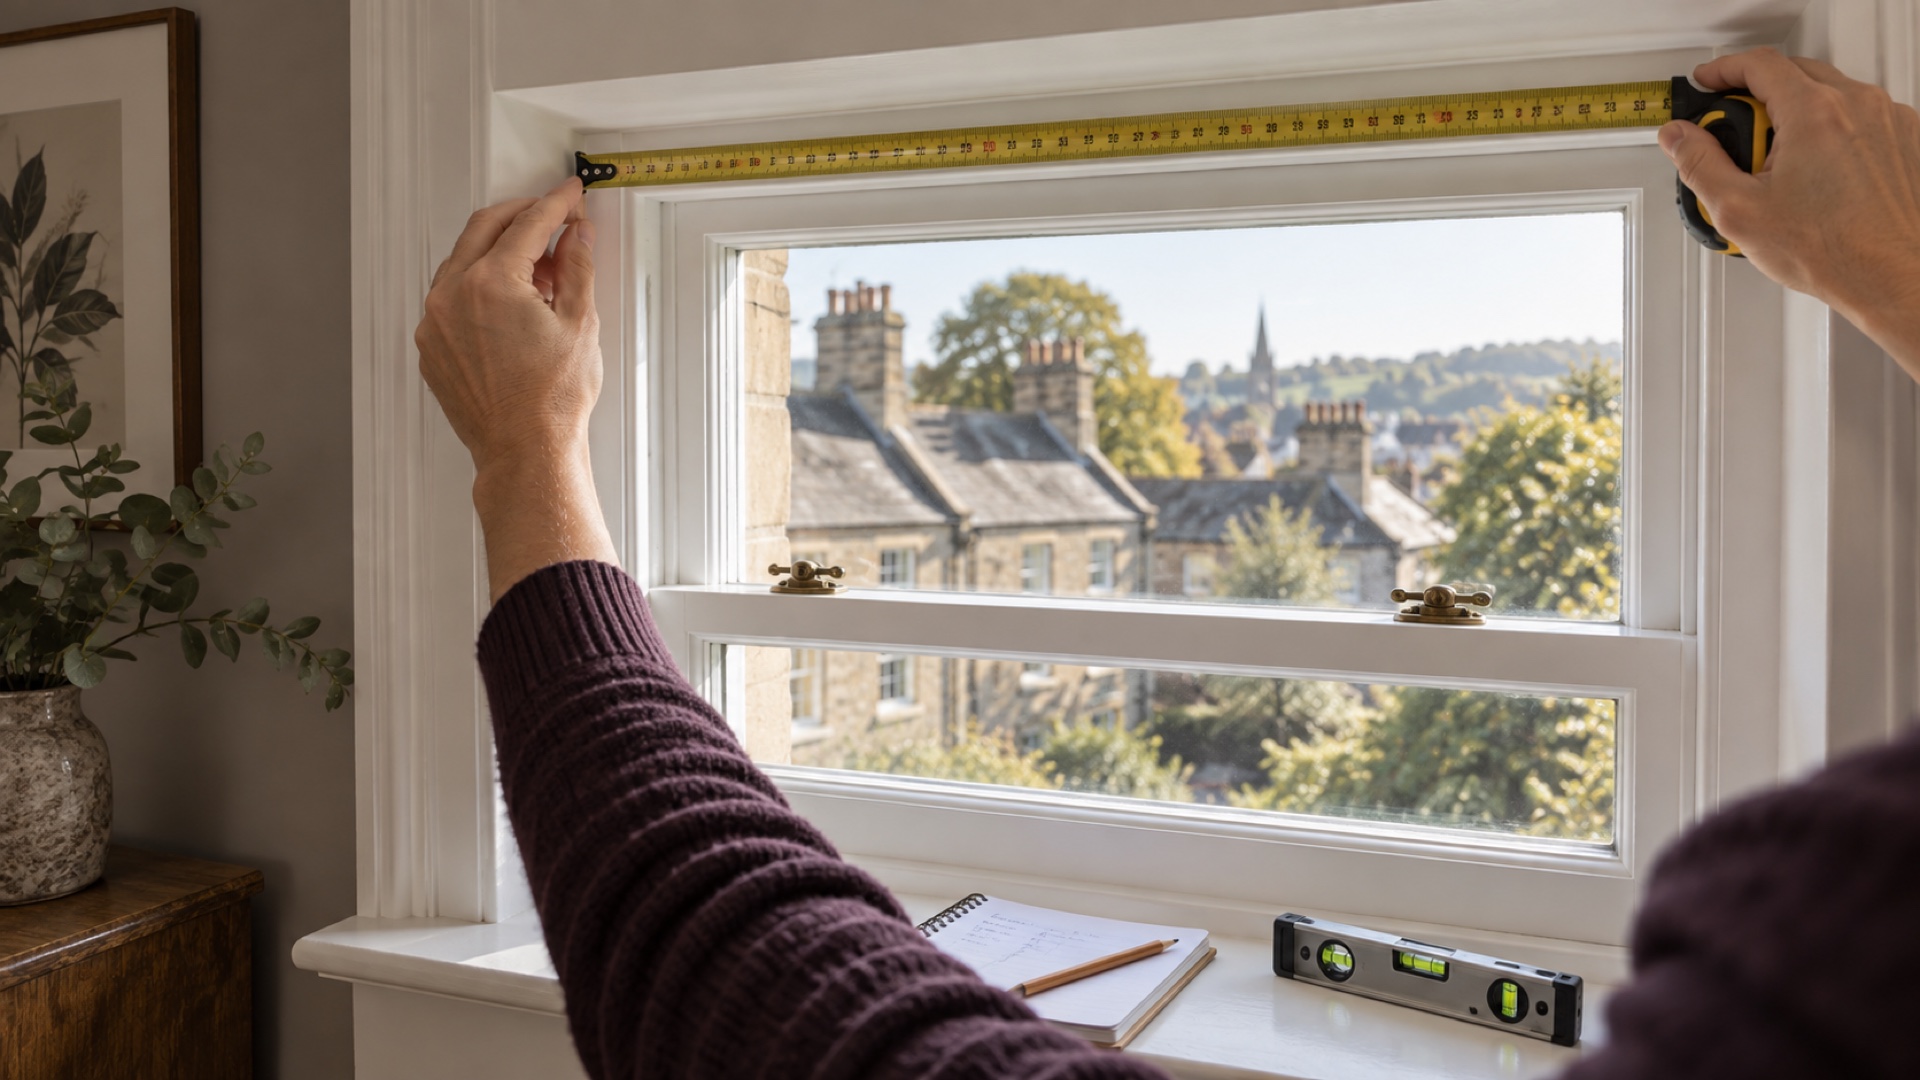
Tools and terms to settle first
Use a rigid metal tape, a pencil, paper or notes app, a small spirit level and a step platform that can be used safely. A fabric tape can stretch. Record every number immediately and label it; an unlabelled “1120” is useless when you no longer know whether it was top width, cloth width or drop.
The recess is the opening around the window. A recess fit sits within it. A face fit or exact fit sits on the wall or trim outside it. Bracket-to-bracket width is the complete mechanism; fabric width is the narrower cloth that actually blocks light. Retailers use these terms differently, so read the measuring guide before you order, not after.
How to measure for a recess fit
- Measure the width near the top, through the middle and near the sill.
- Measure the drop at the left, centre and right.
- Record the recess depth and the position of handles, vents, tiles and inward-opening sections.
- Check the walls are reasonably square and that the proposed bracket points are sound.
- Compare the figures with the chosen product’s deduction instructions.
Many guides say to submit the smallest width and drop, but roller blinds need extra attention at the top because the mechanism sits there and is wider than the cloth. The Blinds2go roller measuring guide (PDF) includes top-of-recess instructions and separate advice for part-tiled openings. Use the instructions for the exact range you are ordering; do not copy an allowance from an unrelated seller.
Do not make your own deduction if the retailer says it will deduct for recess clearance. A second subtraction creates a wider light gap and can make the blind impossible to return.
How to measure for a face fit
Mark the full area you want the fabric to cover. Measure from the outer left mark to the outer right, then from the proposed top position to the finishing point. Check that the brackets will land on solid material and that the roll clears coving, a lintel, opening handles and any curtain pole.
Extra overlap helps catch side light. The Blinds2go guide linked above gives at least 50 mm on each side and around 70 mm above the recess for its exact-fit products. Treat that as a worked example, not a universal blackout specification. A shallow wall return, radiator or door may set a different practical limit.
Use low-tack marking methods suitable for the surface. If you are renting, get any required permission before drilling and check whether a no-drill fitting is compatible with the frame.
Do not confuse roller width with cloth width
A roller’s pin end, control end and brackets extend beyond the fabric. The featured FURNISHED product says its cloth is about 4.5 cm narrower than the complete blind. The Blinds2go guide gives approximately 3.5 cm for its components and distinguishes fabric-width from bracket-to-bracket orders. Neither number should be assumed for another system.
For a recess fit, a mechanism that fits perfectly can still leave obvious bright strips because the cloth is narrower. For a face fit, decide whether the seller wants the complete finished width or the cloth coverage width. If the listing is unclear, ask before ordering and keep the written answer.
Our blackout roller blind guide explains how three different product formats translate those measurements into real choices.
What your ordered width actually covers
Adding width to the complete roller does not add the same amount of fabric coverage. The examples below separate the opening, the complete assembly and the cloth, so you can see what an outside-fit order would cover before choosing a size.
For this illustration, the opening is 1,000 mm wide and the total assembly-to-fabric difference is 35 mm. That difference is the approximate component allowance described in the Blinds2go roller measuring guide, page 5 (PDF); it is not a universal deduction. Replace it with the documented difference for your chosen blind.
Three orders for the same opening
All three scenarios use the same 1,000 mm opening and illustrative 35 mm total difference. “Each side” assumes the fabric, not merely the brackets, is centred over the opening.
| Complete assembly | Calculated fabric | Coverage at each side |
|---|---|---|
| 1,000 mm Matches opening width | 965 mm | 17.5 mm shortfall |
| 1,100 mm Adds 50 mm of assembly each side | 1,065 mm | 32.5 mm overlap |
| 1,200 mm Adds 100 mm of assembly each side | 1,165 mm | 82.5 mm overlap |
Reproduce the calculation
Fabric width = complete assembly width − total assembly-to-fabric difference. Then centred overlap per side = (fabric width − opening width) ÷ 2. A negative result means fabric shortfall, not a measurement of how much light enters.
For example, 1,100 − 35 = 1,065 mm of fabric; (1,065 − 1,000) ÷ 2 = 32.5 mm of overlap each side. To plan a chosen 100 mm of fabric overlap each side, the required complete width would instead be 1,000 + (2 × 100) + 35 = 1,235 mm. The 100 mm target is an example, not a recommended minimum.
Before turning a result into an order
These are horizontal planning dimensions only. Check the fabric’s real left/right position, drop, available wall space, bracket support, handles and vents. Width cannot predict top or bottom light, wall-to-cloth gaps or full-room darkness. A calculated size may not exist in a ready-made range.
If the supplier asks for fabric width, use the required cloth coverage rather than adding the component difference again. If it asks for a recess size and makes its own allowance, follow that procedure instead. Do not subtract the illustrative 35 mm from a recess measurement.
Roof windows, bay windows and part-tiled recesses
For a VELUX or other branded roof window, open the sash and photograph the identification plate. VELUX’s type-sign guide shows the type, size, variant and production code to record. Match the complete maker and code to the blind. A code-specific rail system is designed to stay against the slope; a normal vertical roller is not.
For a part-tiled recess, measure both the top and the narrow point between the tiles. The bracket position and the cloth path may be constrained by different widths. For a bay or L-shaped window, mark the projected path of each blind and allow the rollers and bottom bars to pass without colliding. Paper or cardboard templates can reveal clashes before ordering.
For a window that is visibly out of square, a framed cassette may require specialist measuring. Do not “average” the sides. Record the discrepancy and send photographs to the supplier.
A final order checklist
- Correct room and window labelled on every note.
- Width and drop measured more than once.
- Recess or face fit selected deliberately.
- Bracket-to-bracket and fabric width both understood.
- Depth, handle, vent and opening clearance checked.
- Control side chosen and safe to access.
- Retailer deduction rule read and followed once.
- Units, variant and quantity confirmed in the basket.
Save a screenshot of the configured order and keep your measurements. If a later page shows a slightly different variant, stop and recheck rather than assuming the seller has preserved the selection.
Products for this job
Examples that ask different measuring questions
The first two are ready-made rollers; the third is a code-specific roof-window blind. Use their exact current instructions, not a universal deduction.
FURNISHED blackout roller blind, black, 60 × 165 cm
Best for: A familiar daily blind in a standard bedroom
A conventional coated roller blind with a broad size range and several fitting positions. It is useful when you want an everyday blind rather than a panel that must be removed each morning.
What stands out
- Many width and drop options are listed
- Can be fixed inside or outside the recess
- A trim-to-width route for awkward standard sizes
Keep in mind
- The fabric is about 4.5 cm narrower than the complete mechanism
- The looped chain and supplied safety device must be fitted correctly
- An ordinary roller does not seal the sides
- 60 × 165 cm
- Coated polycotton
- Bracket mounted
- Chain controlled
LazBlinds cordless no-drill blackout shade, black, 36 × 72 in
Best for: A window where a control loop is best avoided
A spring-operated cordless shade that attaches without conventional drilled brackets. It removes the hanging loop found on many ready-made rollers, but its stick-on installation still needs a compatible, clean surface.
What stands out
- Cordless spring operation
- No conventional drilling
- Opaque black fabric in the featured variant
Keep in mind
- A fixed ready-made width will not suit every recess
- Adhesive or pressure fittings still depend on the surface and instructions
- No-drill does not guarantee mark-free removal
- 36 × 72 in
- Cordless
- No-drill mounting
- Black
Itzala blackout blind for VELUX M04 and MK34 roof windows
Best for: A compatible VELUX M04 or MK34 roof window
A code-specific roof-window blind with aluminium rails and stepless manual positioning. It follows the slope of a compatible VELUX window rather than hanging away from the glass.
What stands out
- Aluminium rails manage side light on a sloping window
- Manual stepless positioning
- Uses the roof-window code to select the fit
Keep in mind
- Only compatible with the stated VELUX codes
- Not a substitute for checking the label on the open window
- Colour and code combinations sit under related variants
- M04 / MK34 variant
- Aluminium rails
- Manual
- Code-specific fit