
Find out what is actually attached
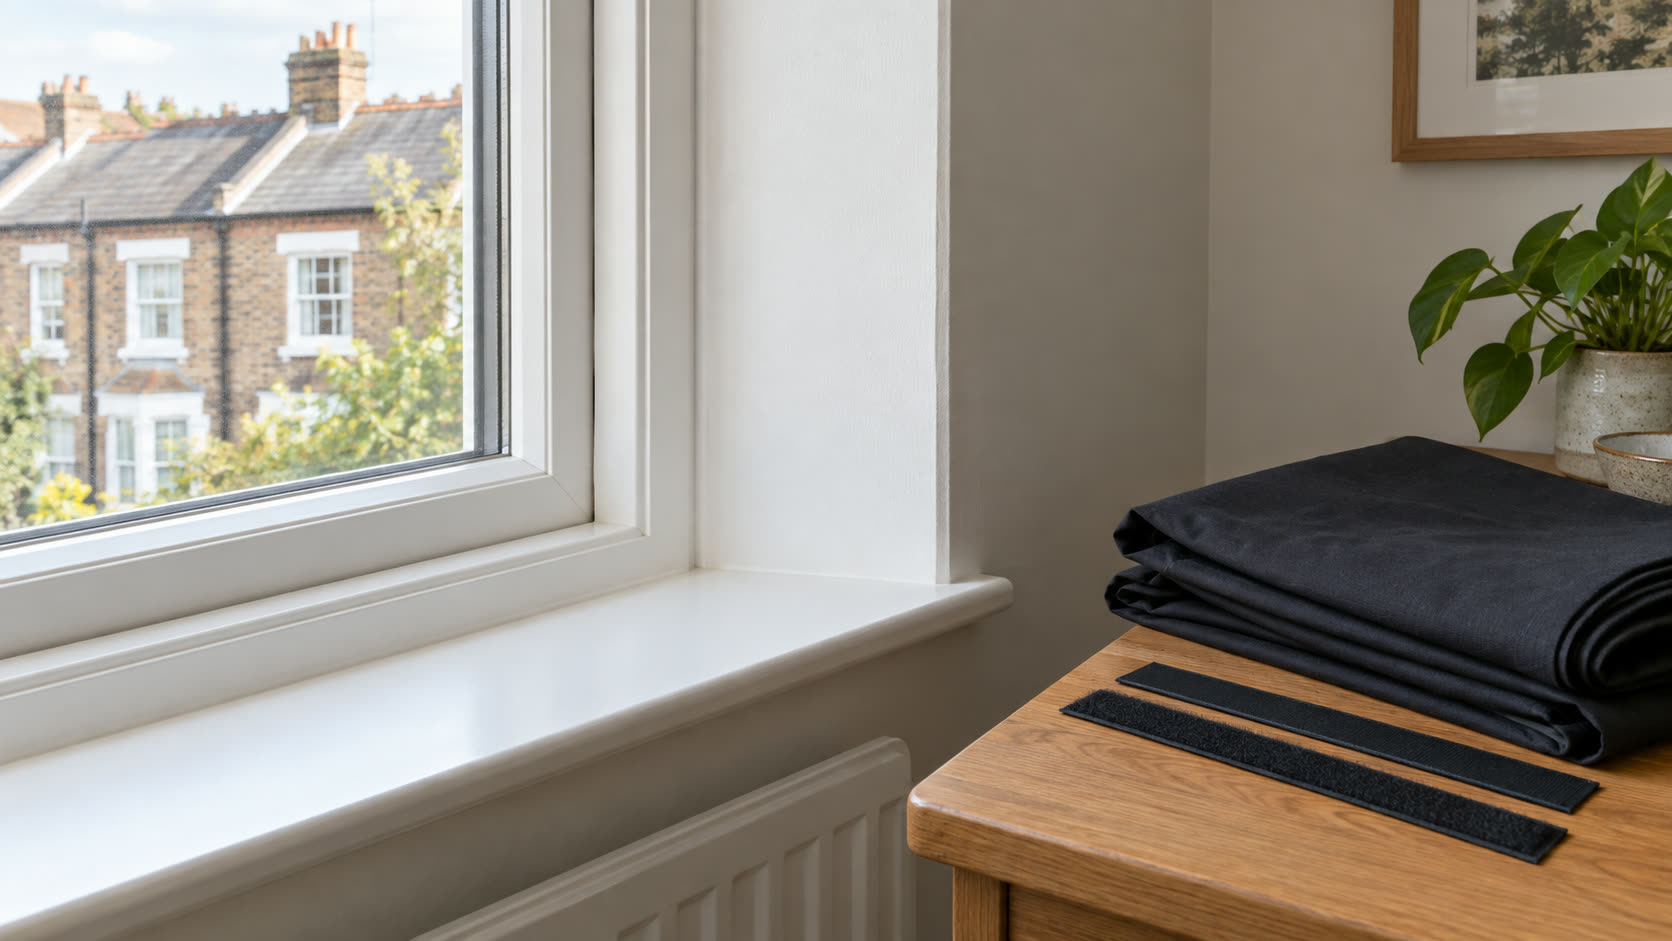
“Stick-on blackout blind” can mean several mechanisms. A lightweight pleated shade may have an adhesive head strip; a fabric sheet may attach to hook-and-loop pads that remain on the frame; another product may use a specifically designed stretch-release strip. The removal method for one is not automatically right for another. Before lifting a corner, find the product label, packaging, order record or fitting instructions. Photograph how the blind meets the frame and note where release tabs, if any, are accessible. If you rent or are staying with someone else, tell the person responsible before attempting a removal that may affect their finish.
Identify the surface too: painted plaster, wallpaper, varnished timber, uPVC, aluminium and acrylic differ. A method that leaves one surface clean can lift another coating. Window seals and gaskets are not spare adhesive surfaces. Do not confuse a decorative frame film with the structural frame beneath it. If the blind sits close to a trickle vent or window restrictor, locate those features before moving the fabric so they are not damaged. Our suction versus adhesive comparison explains why surface compatibility matters at installation as well as removal.
The 3M Command instructions give a specific technique for that brand's compatible stretch-release strips: hold the fixture, then pull the exposed tab slowly straight down along the wall rather than towards you. That is useful only if you have identified a genuine strip designed for this action and it was installed so the tab is accessible. It is not general advice for ordinary double-sided tape, a glued pleat or an unidentified hook-and-loop pad. If the fixing method is unknown, stop and seek the manufacturer guidance.
Support the fabric, then release each point
Take down any detachable fabric panel first if the product allows it. Fold it away from the window rather than pulling all pads at once. For hook-and-loop, separate the fabric from the fixed pads gently; the pads may require a different later removal step. For a pleated paper blind, support the light headrail while releasing the maker's adhesive as instructed, so the whole weight does not hang on one corner. Keep small released strips away from children and pets. Do not let a panel fall onto a cot, bed or radiator while working.
If the adhesive begins lifting paint, pulling fibres from wallpaper, stretching a window gasket or leaving a visible mark on acrylic, stop. More force usually increases damage. Do not substitute a scraper, knife, solvent, steam or hairdryer just because a generic household tip suggests it. Heat and chemicals can affect plastic, seals and coatings; a blade can scratch glass or cut a gasket. Consult the adhesive and frame makers' instructions or a suitable professional, especially in a rented, heritage or costly window. The goal is to leave the surface sound, not to complete removal quickly at any cost.
| Fixing found | First action | Caution |
|---|---|---|
| Designed stretch-release tab | Follow that brand's exact pull direction | Do not use on unidentified tape |
| Hook-and-loop sheet | Detach fabric separately if designed to do so | Frame pads may still be bonded |
| Adhesive pleated head strip | Support pleat and follow maker's release steps | Painted reveal may lift |
| Unknown residue or pad | Pause and identify product and surface | No universal solvent or heat method |
Deal with marks by material, not guesswork
After the blind is off, inspect the surface in normal daylight. A visible outline may be dust rather than adhesive; a tacky patch may be residue; a lifted layer may be paint or window film. These need different responses. Read the window and adhesive makers' care instructions before cleaning. A mild product suitable for ordinary glass may not be appropriate for acrylic, coated film, paint or varnish. The Caravan and Motorhome Club notes that many caravan windows are acrylic, which is one reason to avoid assuming a household glass-cleaning or adhesive-removal technique applies there.
If the panel came from a rental, photograph the original condition, the product used and the result after removal. Tell the landlord or host promptly about a damaged finish; hiding it can complicate repair. If the attachment was installed by someone else, ask them which adhesive was used before applying a treatment. Do not refit a new blind over a damaged area without dealing with the substrate. A weak or peeling surface may not hold the next fixing safely.
Make the next fitting easier to reverse
Store reusable fabric only when clean and dry. Remove or secure any loose small attachment parts according to the maker's instructions. If a frame could not release its pads cleanly, choose a different method for the next visit: a suction panel on compatible smooth glass, an existing curtain, or a properly fitted no-drill system if the frame supports it. “Damage-free” claims should be checked against the exact surface and removal conditions rather than assumed from the word “temporary”.
Where a child uses the room, also recheck the original blind exposed after removal. The OPSS guidance covers accessible cords and furniture placement; an adhesive panel may have hidden a hazard without correcting it. Restore normal ventilation and window access, then check for loose strips that a child could reach. Taking down a temporary cover is part of the room's safety plan, not merely a cleaning task.