
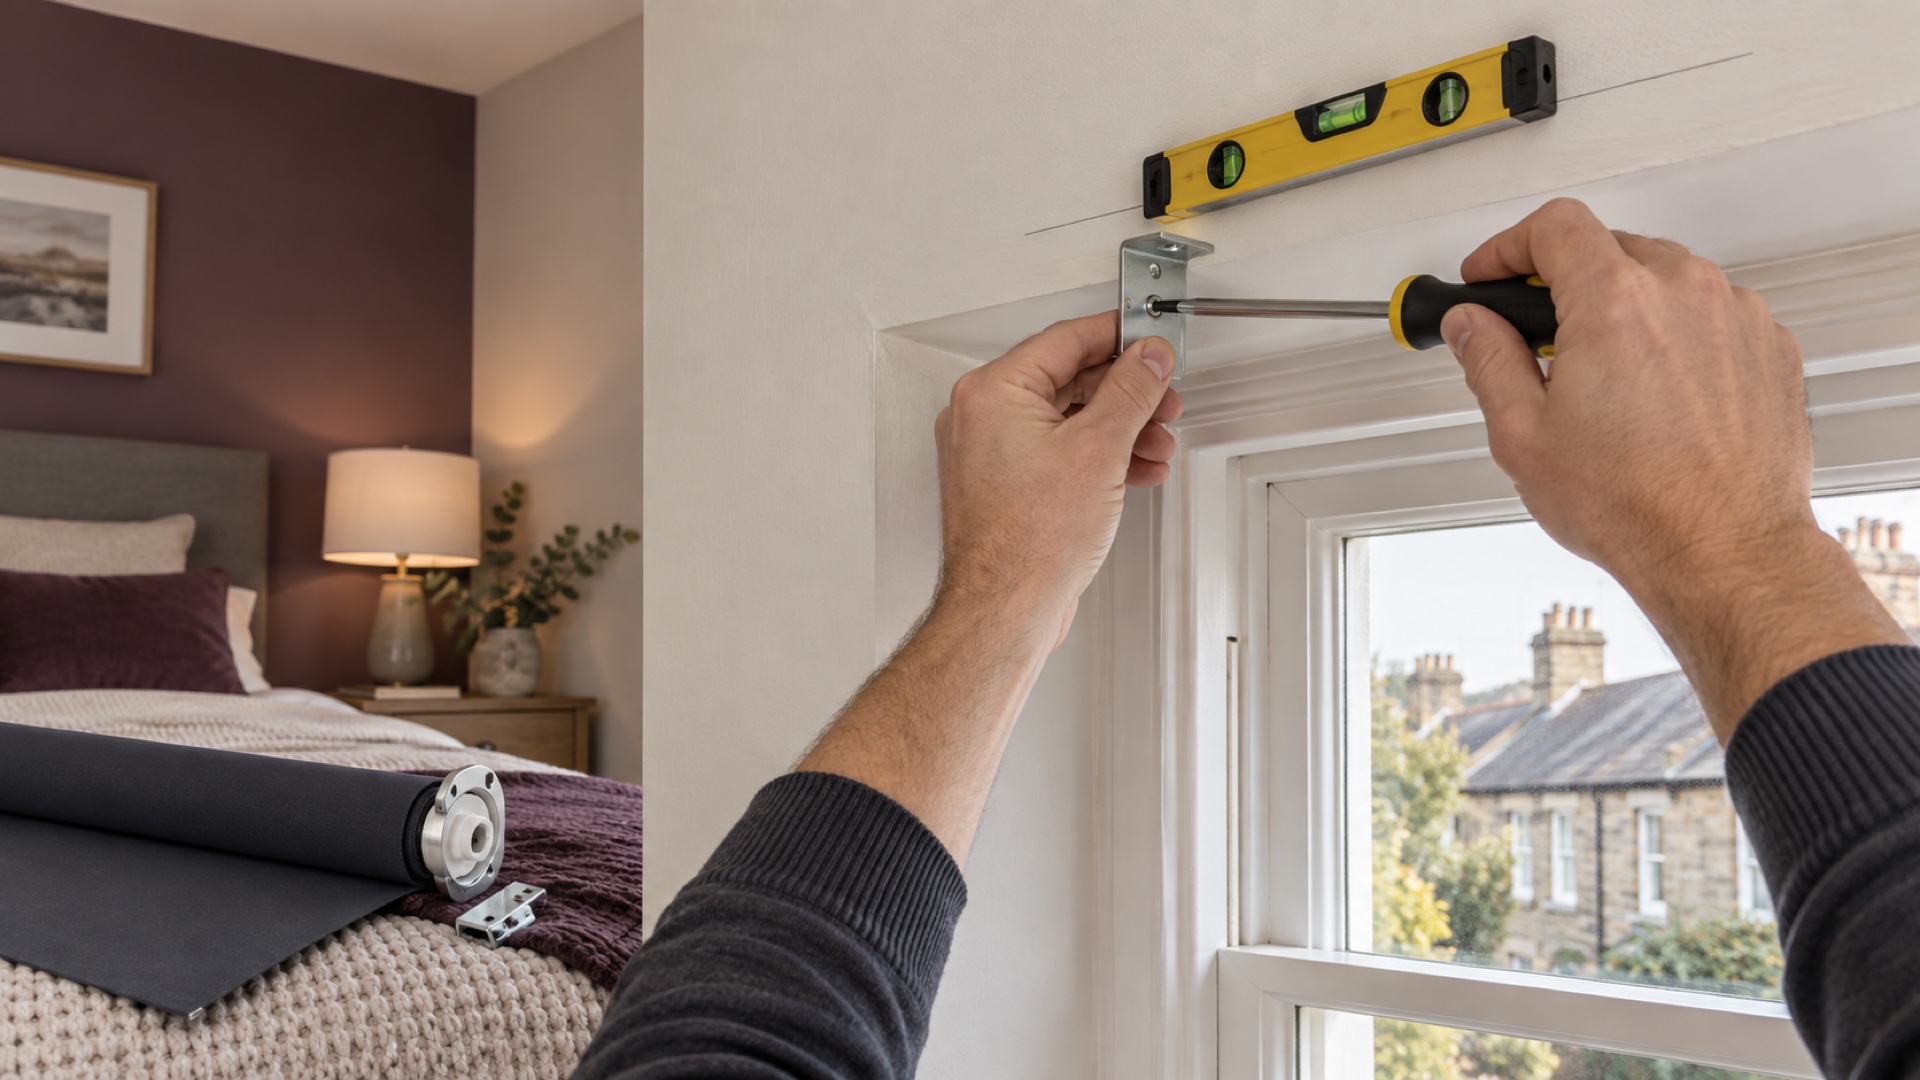
Prepare the blind and the fixing surface
Open the package on a clean floor and find the exact instruction sheet. Confirm the product, width, control side and roll direction before removing packaging from the fabric. Lay out the control bracket, idle-end bracket, safety device, screws and any covers. Do not assume the two brackets are identical.
Identify the proposed substrate. Plasterboard, timber, masonry, concrete and steel lintels require different fixings and tools. Use a detector appropriately, but remember that no detector removes all uncertainty. If the drilling route may contain wiring, pipework or an unknown lintel, stop and ask a competent installer.
Open the window, turn the handle and operate any vent. The blind and bottom bar must clear them in the intended path. Check that a face-fit blind has the planned overlap and that a recess-fit mechanism is not being forced between uneven walls.
Mark the brackets accurately
Hold each bracket in the orientation shown by the manufacturer. Mark one fixing point, use a level to transfer the line and check the distance between brackets against the complete mechanism. A level tube matters: a small error can make the fabric track towards one edge as it rolls.
For a recess fit, place the brackets at the depth allowed by handles and the roll diameter. For a face fit, use the intended side and top overlap from your measuring plan. Make sure the screws land in sound material rather than a fragile plaster edge.
Drill only to the depth and diameter required by the chosen fixing. Clear dust and seat plugs flush where applicable. Tighten the brackets securely without crushing plastic or stripping a screw head.
Fit the roller and test its travel
Follow the product diagram for which end to locate first and how the second end locks into its bracket. For example, the Blinds2go standard roller installation guide (PDF) seats the pin end before the control end. Other mechanisms use a compressible pin or a different retaining arrangement, so do not transfer that sequence to an unrelated blind. Confirm both ends are fully engaged before releasing the tube. Fit any retaining clips and bracket covers.
Lower the blind slowly. It should travel squarely, stop at the expected point and clear the sill and handle. Raise it again without allowing the bottom bar to strike the tube. If the cloth tracks sideways, stop; repeated operation can crease the edge and pull it from the roller.
For a no-drill product, the manufacturer may require cleaning the surface, waiting after adhesive application or applying a specified amount of pressure. Do not shorten curing time or add an unrelated glue. No-drill fittings still need a regular security check.
Install the chain safety device
The Office for Product Safety and Standards says looped cords and chains can pose a danger to young children. New looped blinds must include safety measures, and tidies or tensioners should be firmly fixed to an adjoining surface so the loop remains taut. A cleat must be positioned out of children’s reach and all spare cord secured after use.
Fit the exact supplied device in its instructed position. Do not leave it in the packet, attach it with a weak removable pad when screws are required or stretch the chain so tightly that the blind cannot operate. Keep cots, beds, playpens, highchairs and climbable furniture away from the window.
Read the current GOV.UK guidance. For a new child’s room, consider the cordless options in our nursery guide.
Check the result in daylight
Lower the blind during the room’s brightest period and let your eyes adjust. A conventional roller will normally leave some space beside the fabric. First check that it is centred. For a face fit, verify that the cloth—not only the brackets—creates the planned overlap. For a recess fit, do not move the brackets so close to a side that the mechanism rubs.
If the cloth is opaque but the edges remain distracting, the correct next step may be curtains, a wider face-fit blind or a side-channel system. Do not add loose magnetic strips, cords or weights unless the manufacturer approves them. Use the light-gap guide to identify the actual route.
Final installation check
Operate the blind through several full cycles. Check every screw, clip and cover. Open the window and vents, confirm the chain stays tensioned, and make sure the blind cannot contact a radiator or become wet with condensation. Keep the instructions and product details so future occupants know how the safety device and brackets are intended to work.
Products for this job
Two roller formats to compare before fitting
One uses conventional drilled brackets and a chain; the other is a cordless no-drill shade. Their fitting methods are not interchangeable.
FURNISHED blackout roller blind, black, 60 × 165 cm
Best for: A familiar daily blind in a standard bedroom
A conventional coated roller blind with a broad size range and several fitting positions. It is useful when you want an everyday blind rather than a panel that must be removed each morning.
What stands out
- Many width and drop options are listed
- Can be fixed inside or outside the recess
- A trim-to-width route for awkward standard sizes
Keep in mind
- The fabric is about 4.5 cm narrower than the complete mechanism
- The looped chain and supplied safety device must be fitted correctly
- An ordinary roller does not seal the sides
- 60 × 165 cm
- Coated polycotton
- Bracket mounted
- Chain controlled
LazBlinds cordless no-drill blackout shade, black, 36 × 72 in
Best for: A window where a control loop is best avoided
A spring-operated cordless shade that attaches without conventional drilled brackets. It removes the hanging loop found on many ready-made rollers, but its stick-on installation still needs a compatible, clean surface.
What stands out
- Cordless spring operation
- No conventional drilling
- Opaque black fabric in the featured variant
Keep in mind
- A fixed ready-made width will not suit every recess
- Adhesive or pressure fittings still depend on the surface and instructions
- No-drill does not guarantee mark-free removal
- 36 × 72 in
- Cordless
- No-drill mounting
- Black